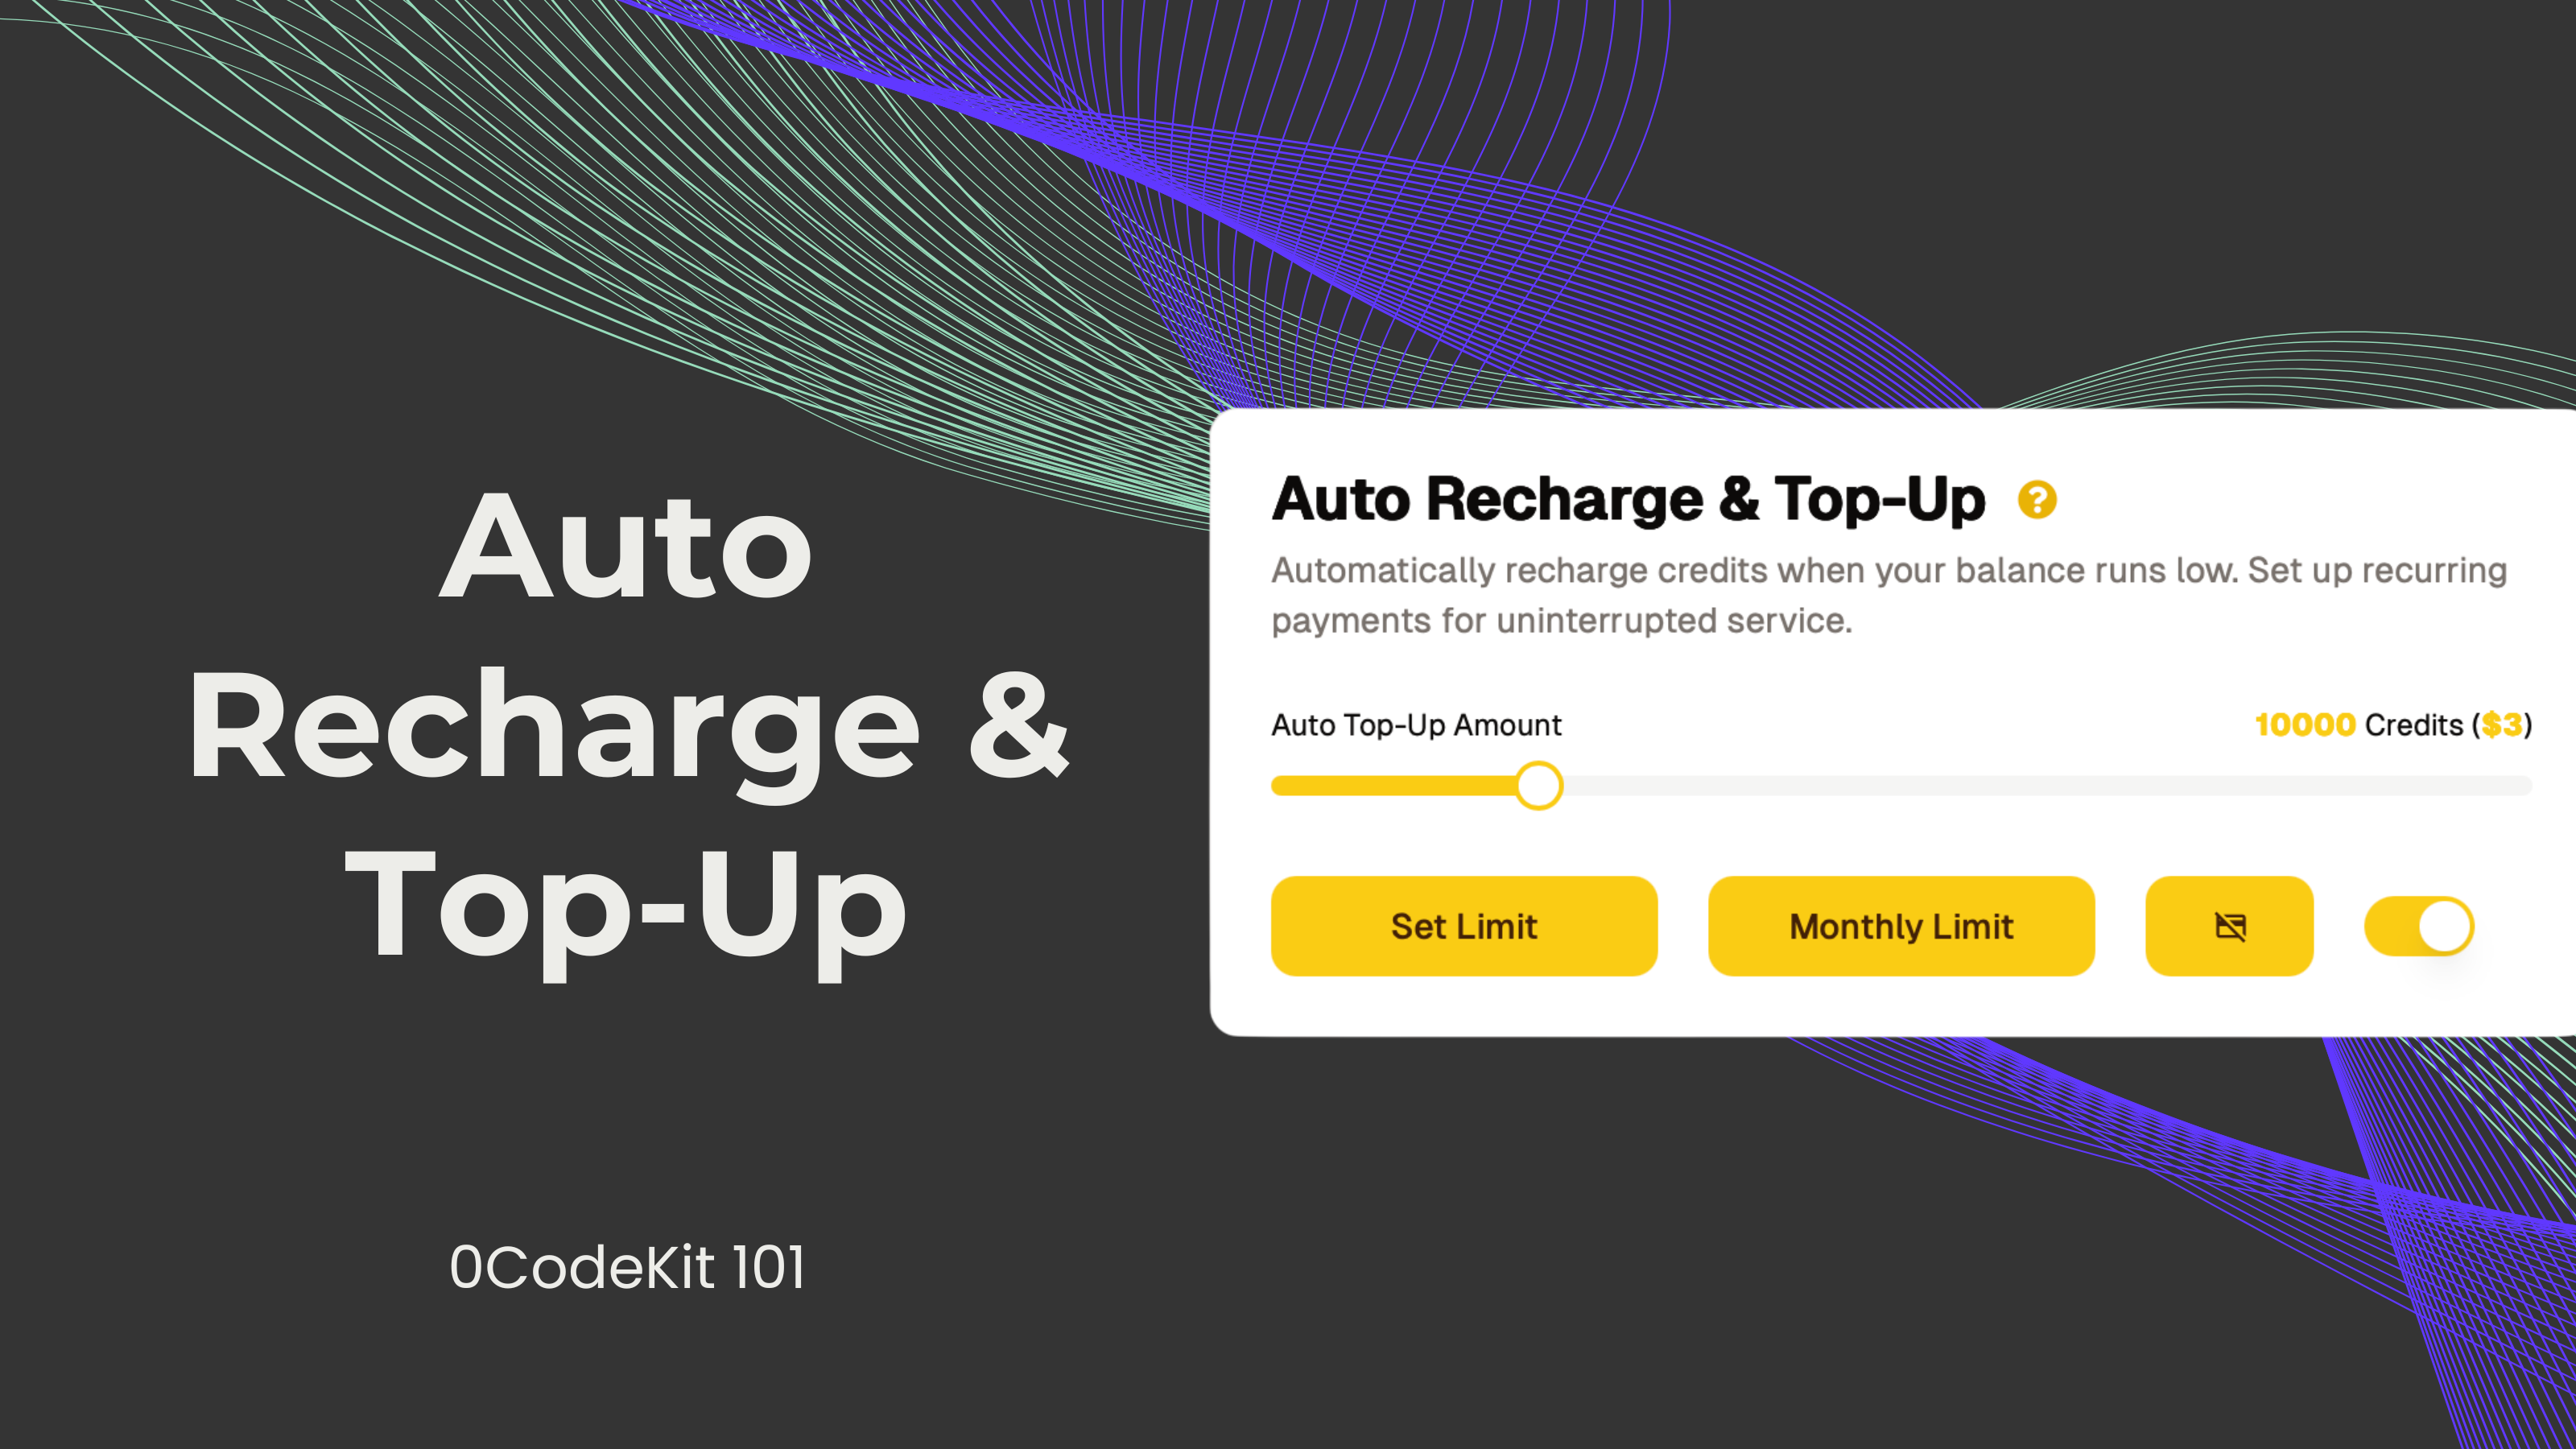
Auto Recharge & Top Up
.png)
At the end of last year, we implemented an 'Auto Recharge & Top Up' feature on the 0CodeKit user interface. Back then, whenever users' credits would hit zero (if the feature was activated), it would automatically recharge and top up the credits to a pre-set amount.
That's why, over the past few months, we have worked hard to make this feature even more valuable for our paying users. So, in this blog, we would like to quickly introduce the new functionalities added and how to properly set them up.
Before, the Auto Recharge & Top Up would automatically recharge when there were no credits left. Now, the predefined auto-recharge limit is 5.000 credits. So, whenever a user has consumed their credits and is below this limit, the feature will automatically recharge. We thought about how frustrating it can be for an automation to stop working due to a lack of credits, and that's how we came up with the idea of setting the limit higher to avoid delays or interruptions.
We get that these two concepts can be very deceiving. Therefore, we would like to explain what each functionality does.
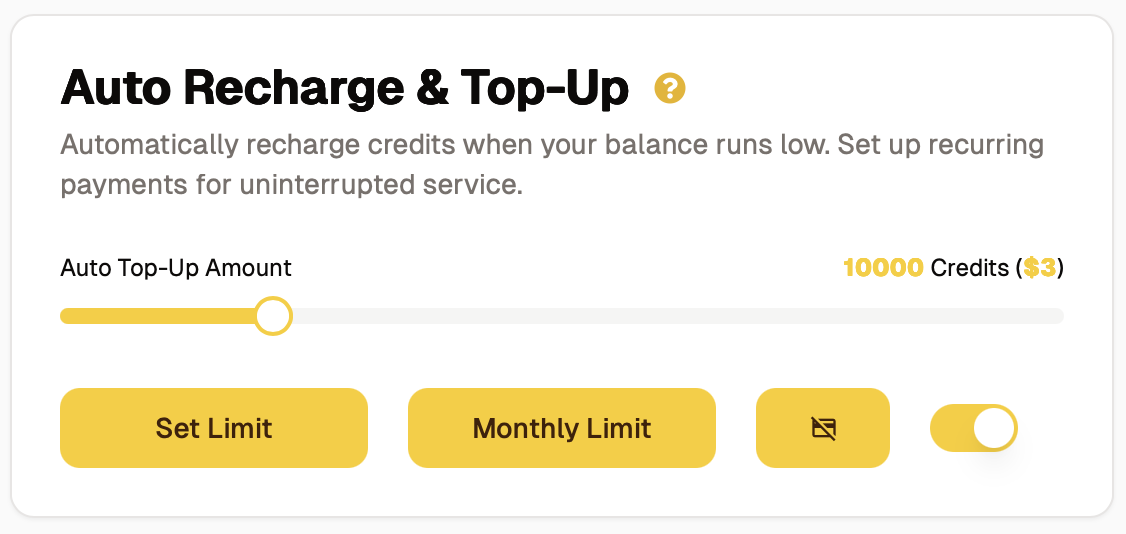
On the one hand, the 'Set Limit' functionality must be used to confirm the maximum number of credits users would like to recharge whenever they have less than 5.000 credits. So, the slider control on the user interface shows how many credits a user can recharge and how much that would cost. For example, 10.000 credits would cost $3 and so on. After setting some credits, users must click on the 'Set Limit' button to confirm the amount.
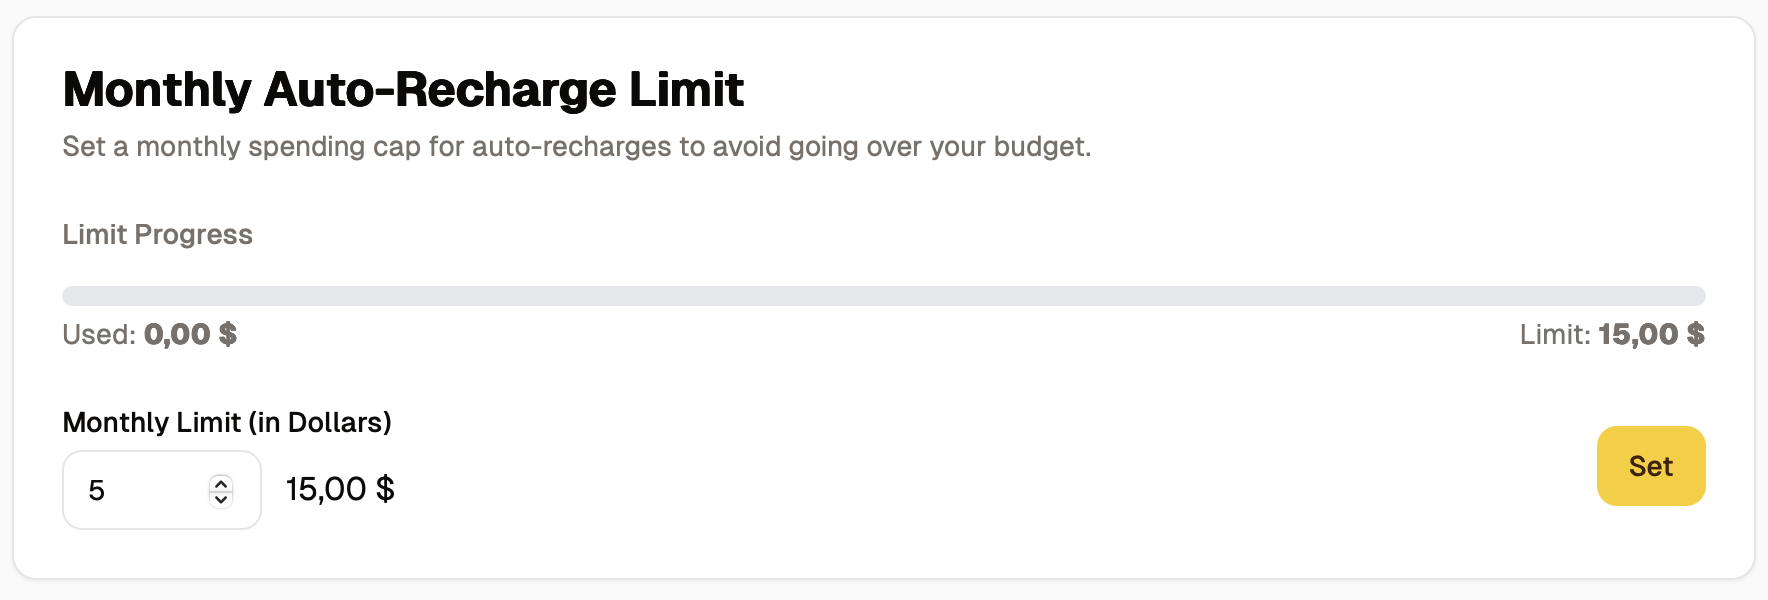
On the other hand, the 'Monthly Limit' must be used to set a spending cap for the auto recharge. This means that, if only the 'Set Limit' is configured without the 'Monthly Limit', the feature could recharge credits more than once within a month. So, in this case, the 'Monthly Limit' functionality is essential for users who do not want to go over their budget. To set it up, users only need to determine the monthly limit in dollars (how much money they would be willing to pay in a month for more credits).
Note: To help you manage your credit more effectively, we have made the setup of these functionalities mandatory.