AI Voiceover Video Tutorial
.png)
Have you ever wondered how people can create videos with an AI voiceover? Well, in this blog, we would like to show you an automation that will generate videos based on custom prompts and put them together with a personalized voiceover.
Not a fan of reading? No problem! Check out our quick, easy-to-follow video tutorial to learn everything you need!
First, we need to sign up or log into one automation platform where the Merge audio into a video endpoint is available, and create a scenario.

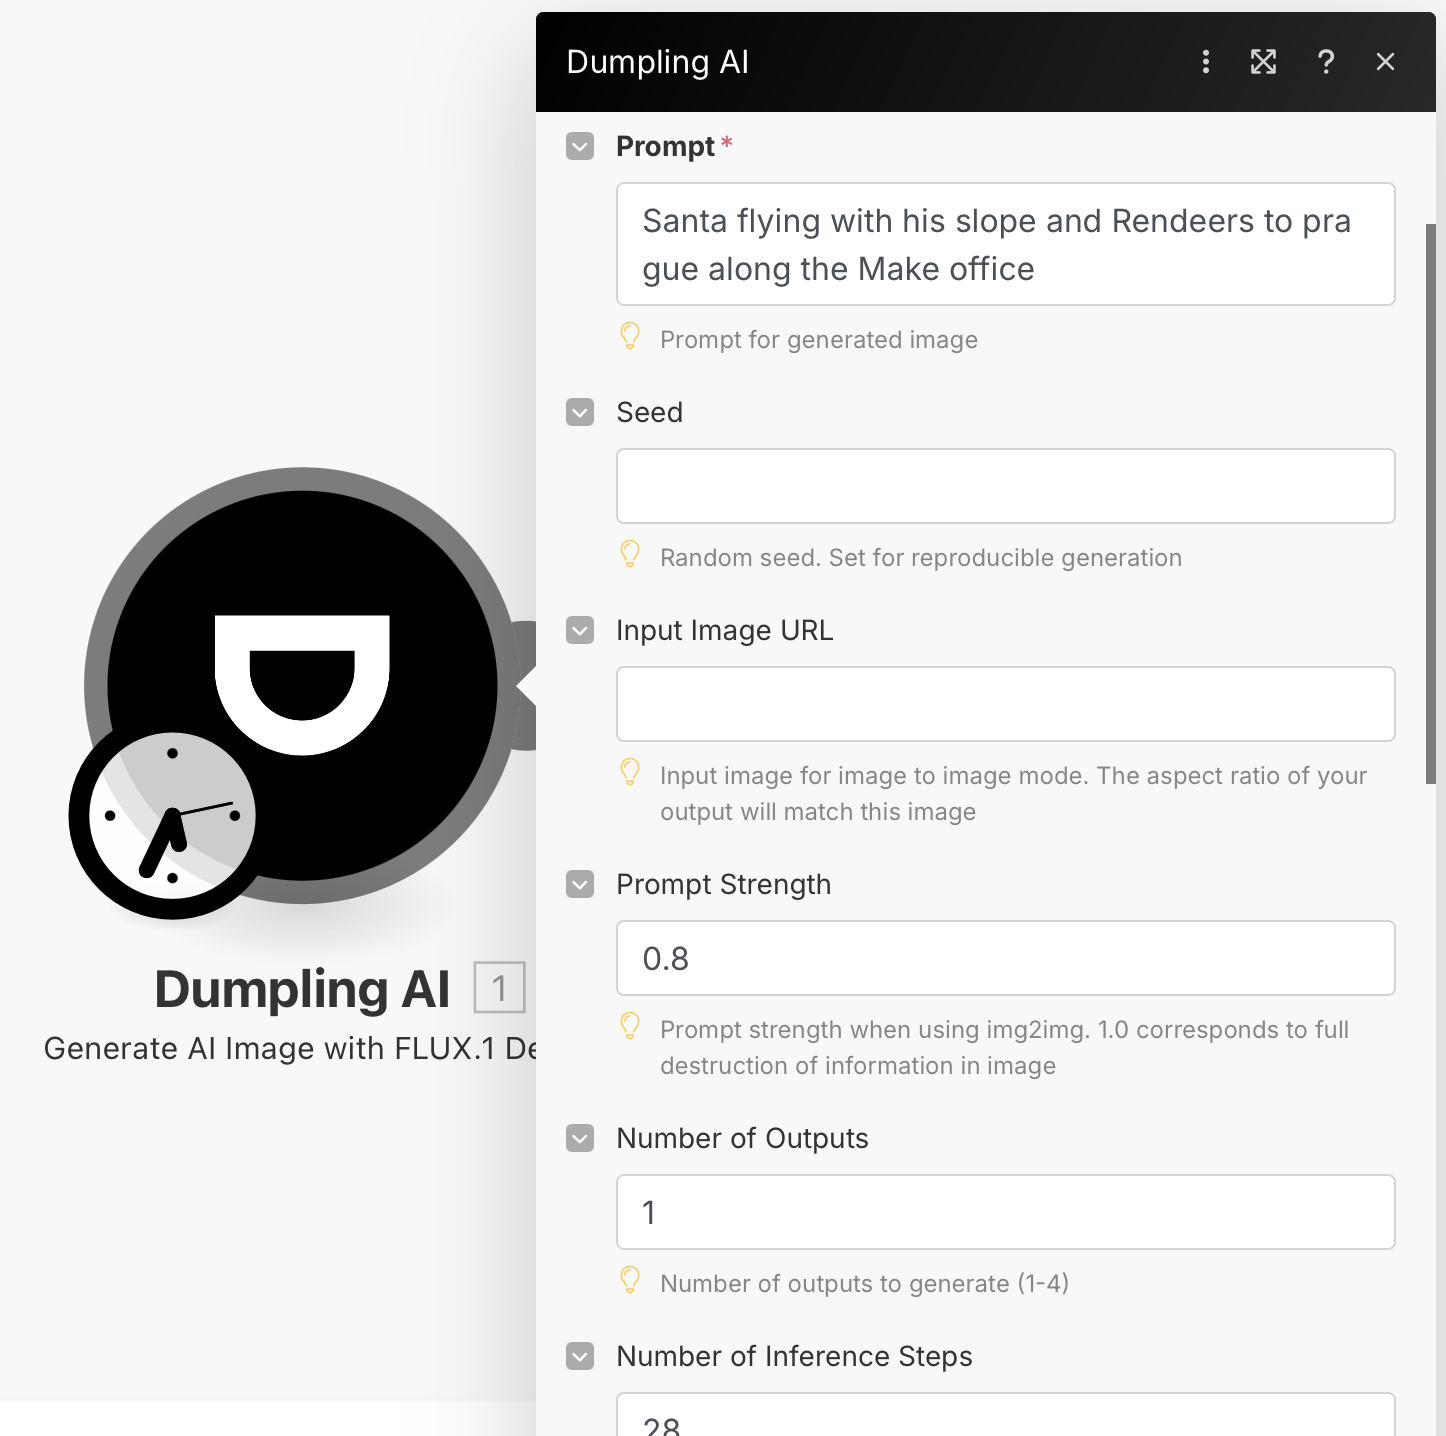
Then, we need to set up a Dumpling AI module with the event "Generate AI Image with FLUX.1 Dev", which will generate custom images that we'll use later to create videos. To set up this module, we need to enter a prompt, set the aspect ratio to 16:9, and change the output format to JPG.
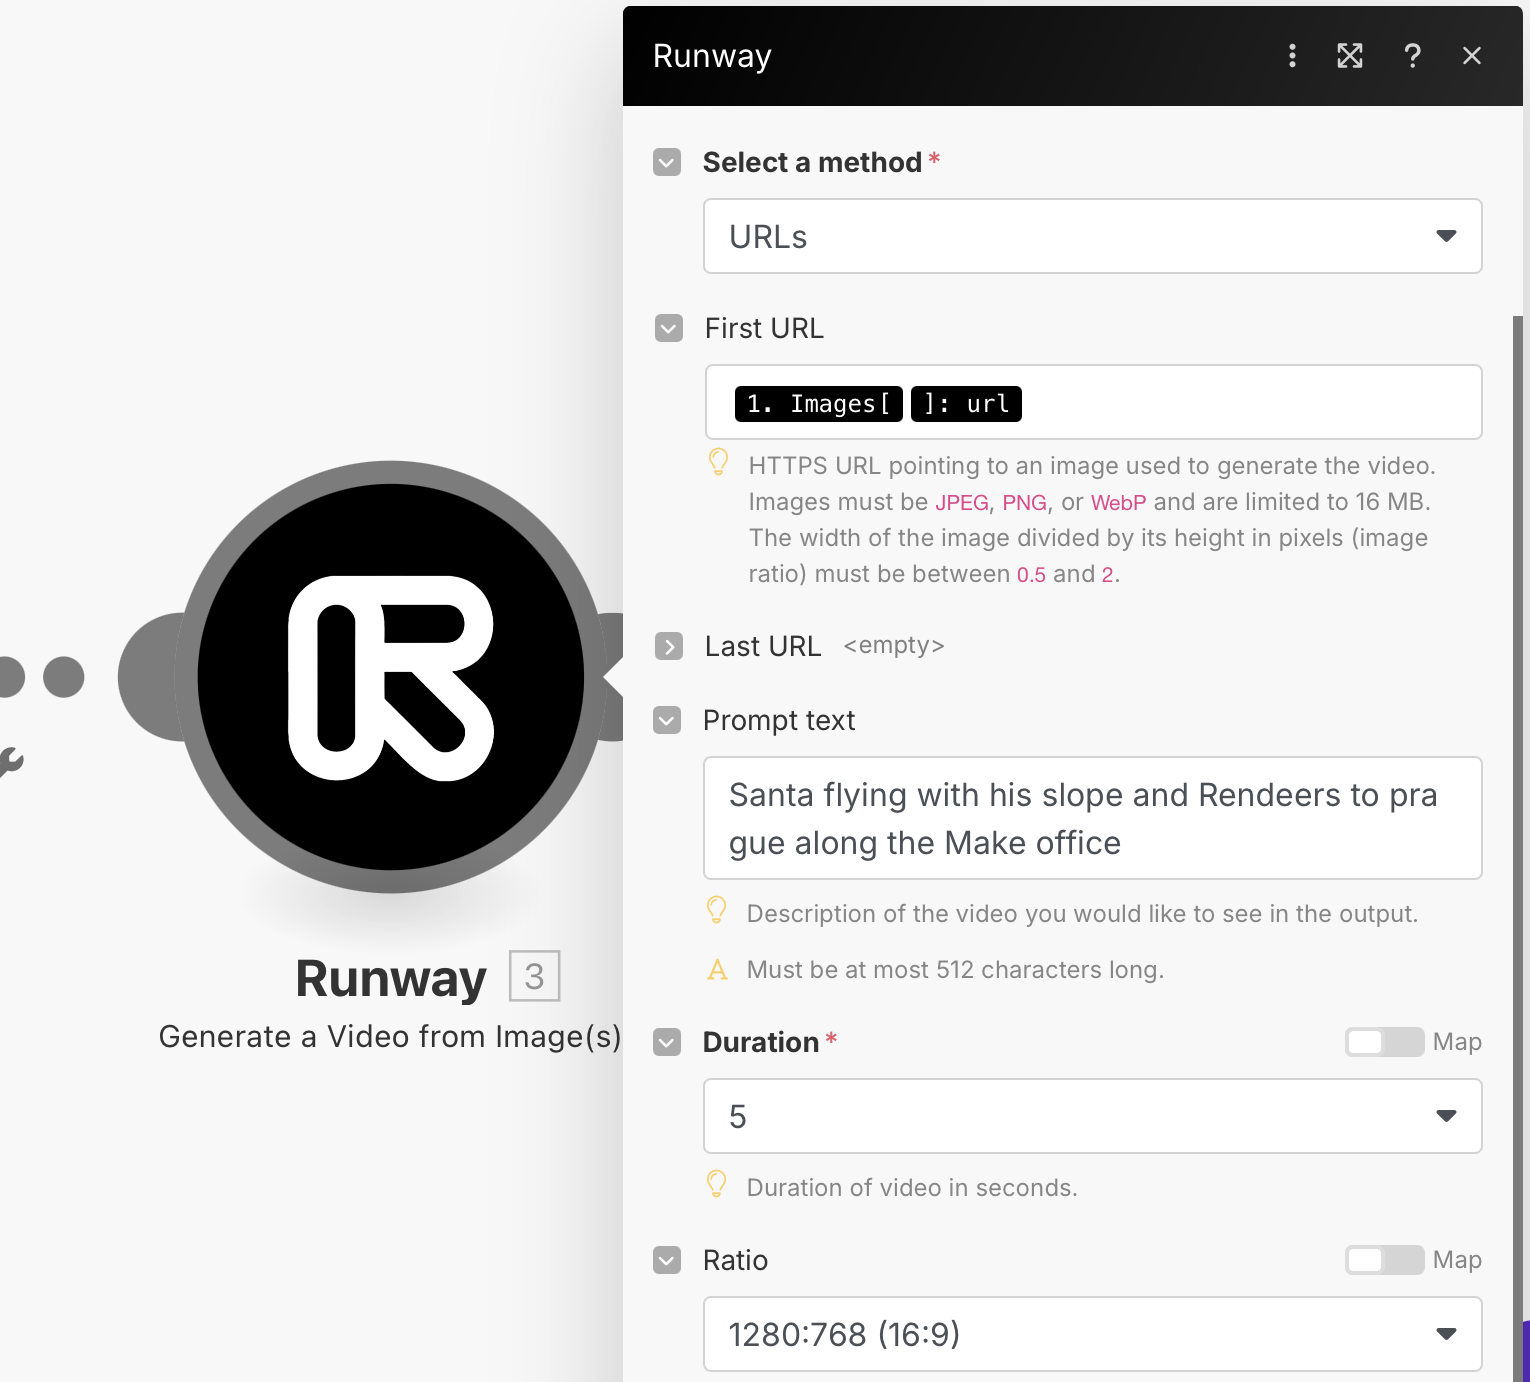
Next, we need to integrate a Runway module with the event "Generate Video from Image(s)", which will create videos based on an image provided. Here, we need to add the "url" icon that is a subcategory of the "Images" icon, and enter the same prompt text that we entered in the Dumpling AI module.
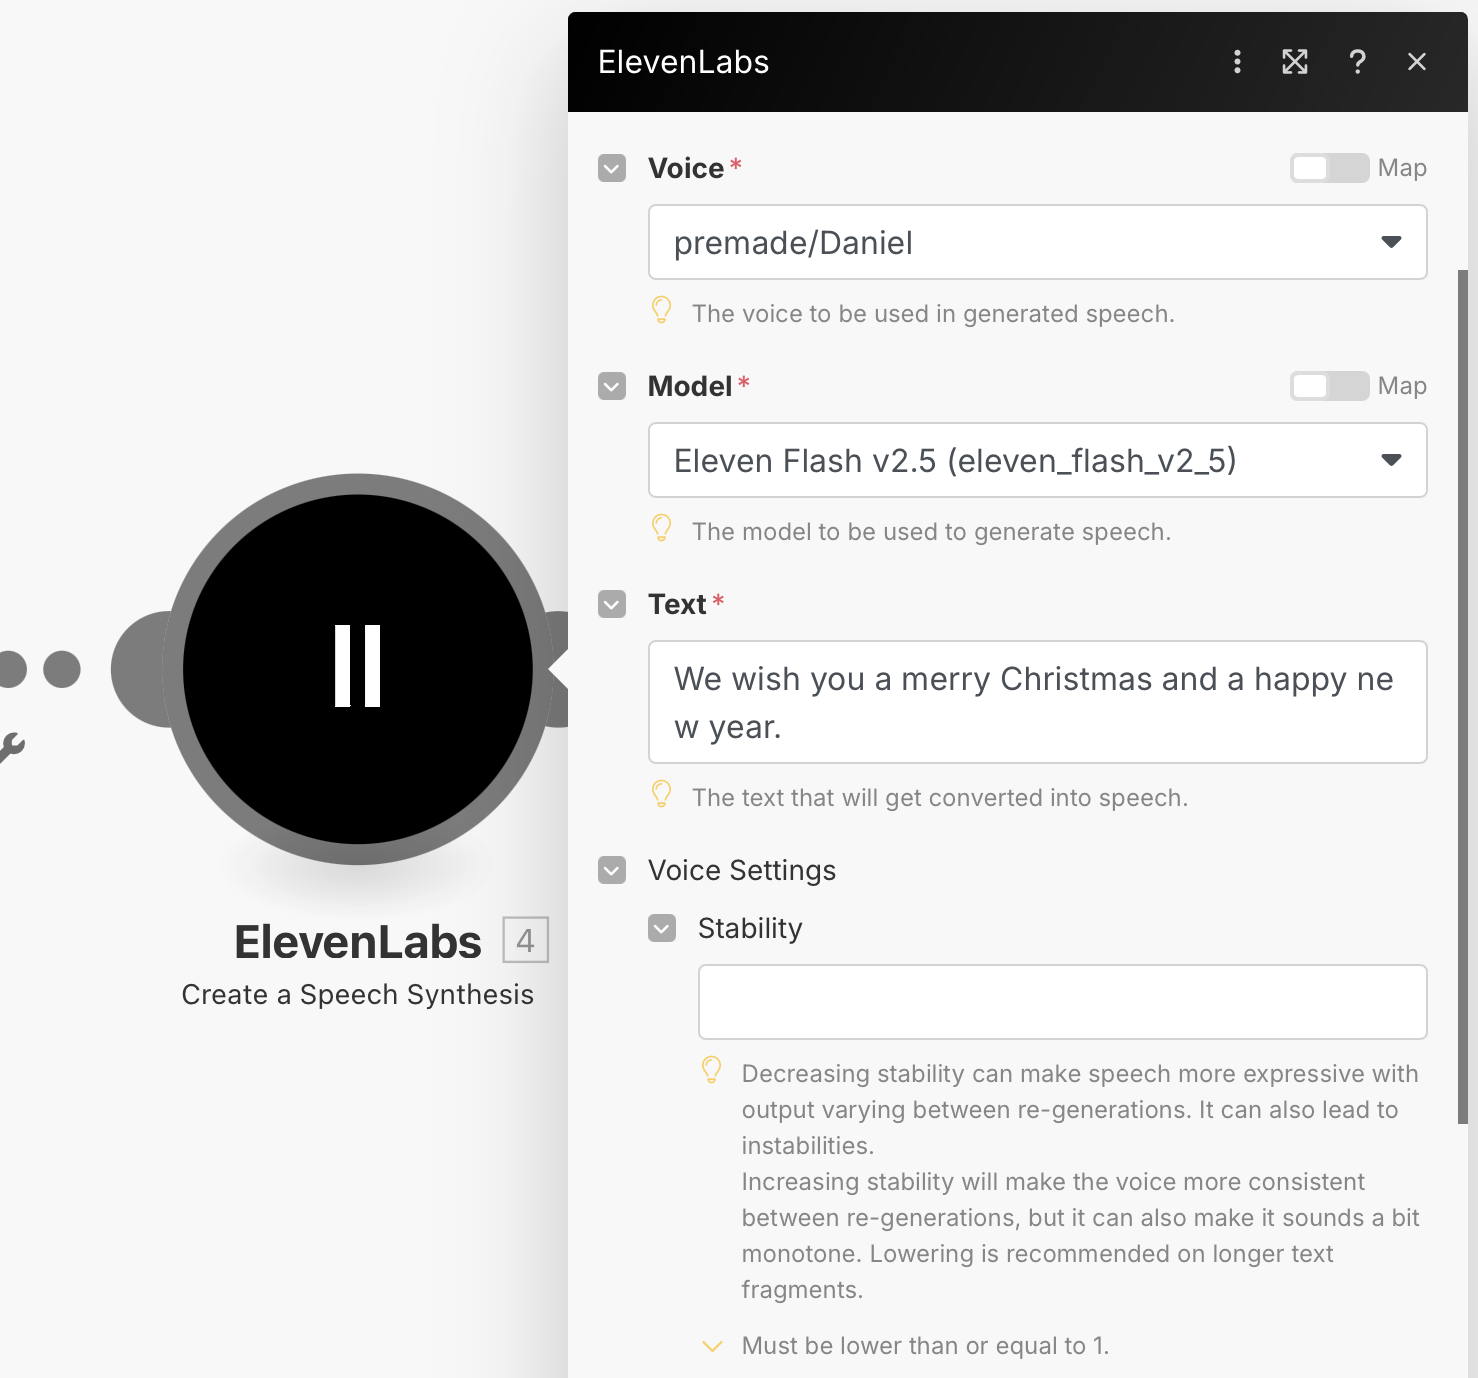
Afterwards, we need to integrate an ElevenLabs module with the event "Create a Speech Synthesis", which will generate a VoiceOver for our video. To set it up, we need to choose a premade voice, select a model, and enter the text that we want the voice to say.
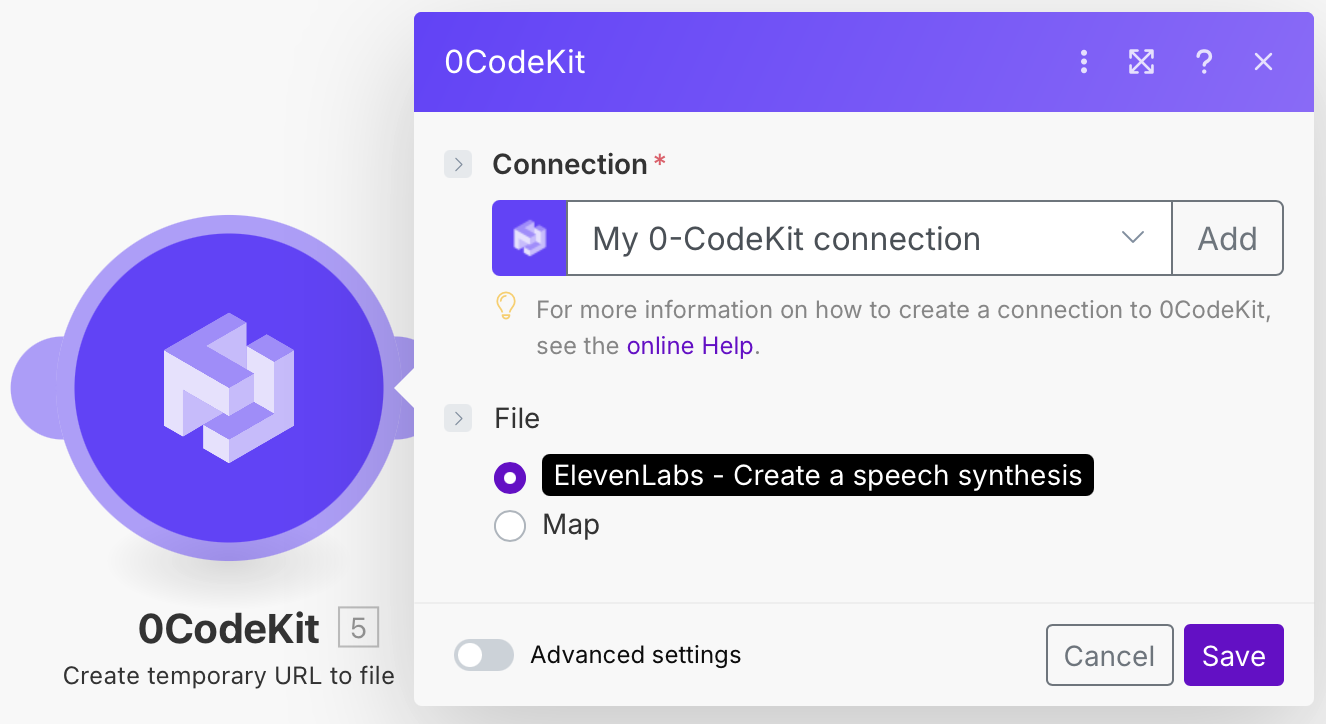
Later, we need to integrate a 0CodeKit module with the event "Create a temporary URL to file", which is essential for 0CodeKit to be able to access the voiceover audio. Here, we only have to select the file from ElevenLabs - Create a Speech Synthesis.
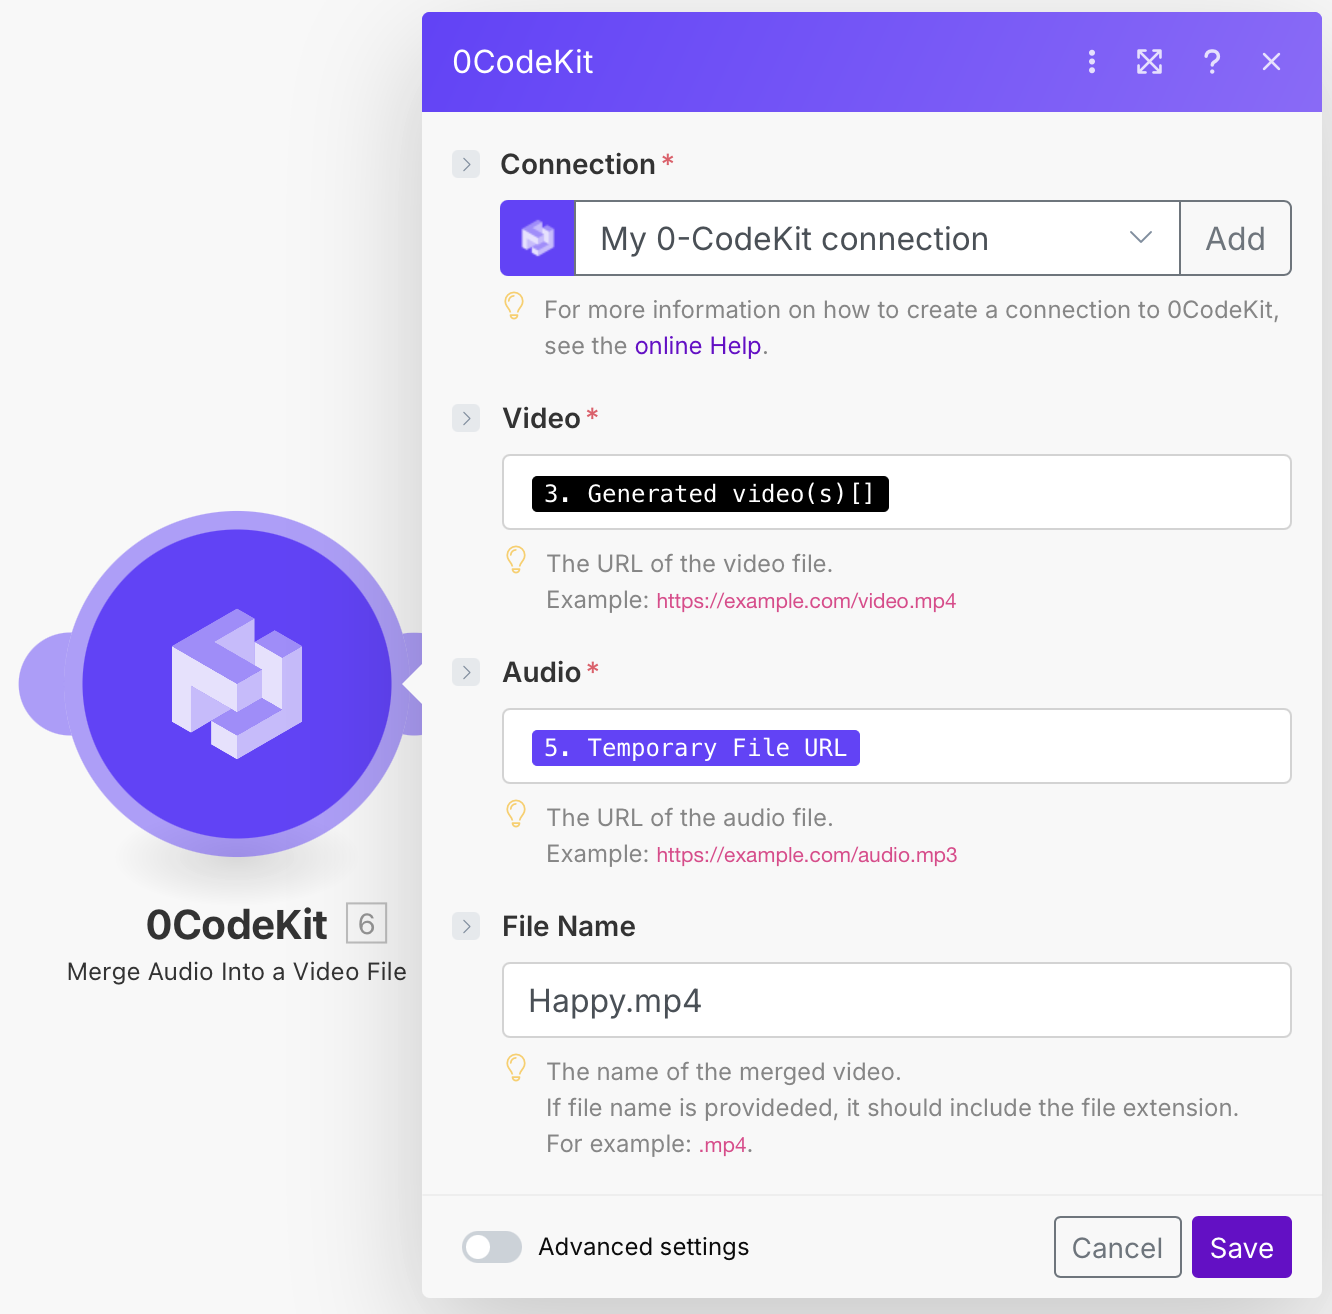
Finally, we need to add another 0CodeKit module with the event "Merge Audio into a Video File", which will put the generated video and voiceover together. To set it up, we need to add the "Generated video(s)" icon into the video field, enter the "Temporary File URL" into the audio field, and give the output a name.