Encrypted PDFs in Dropbox Automation
.png)
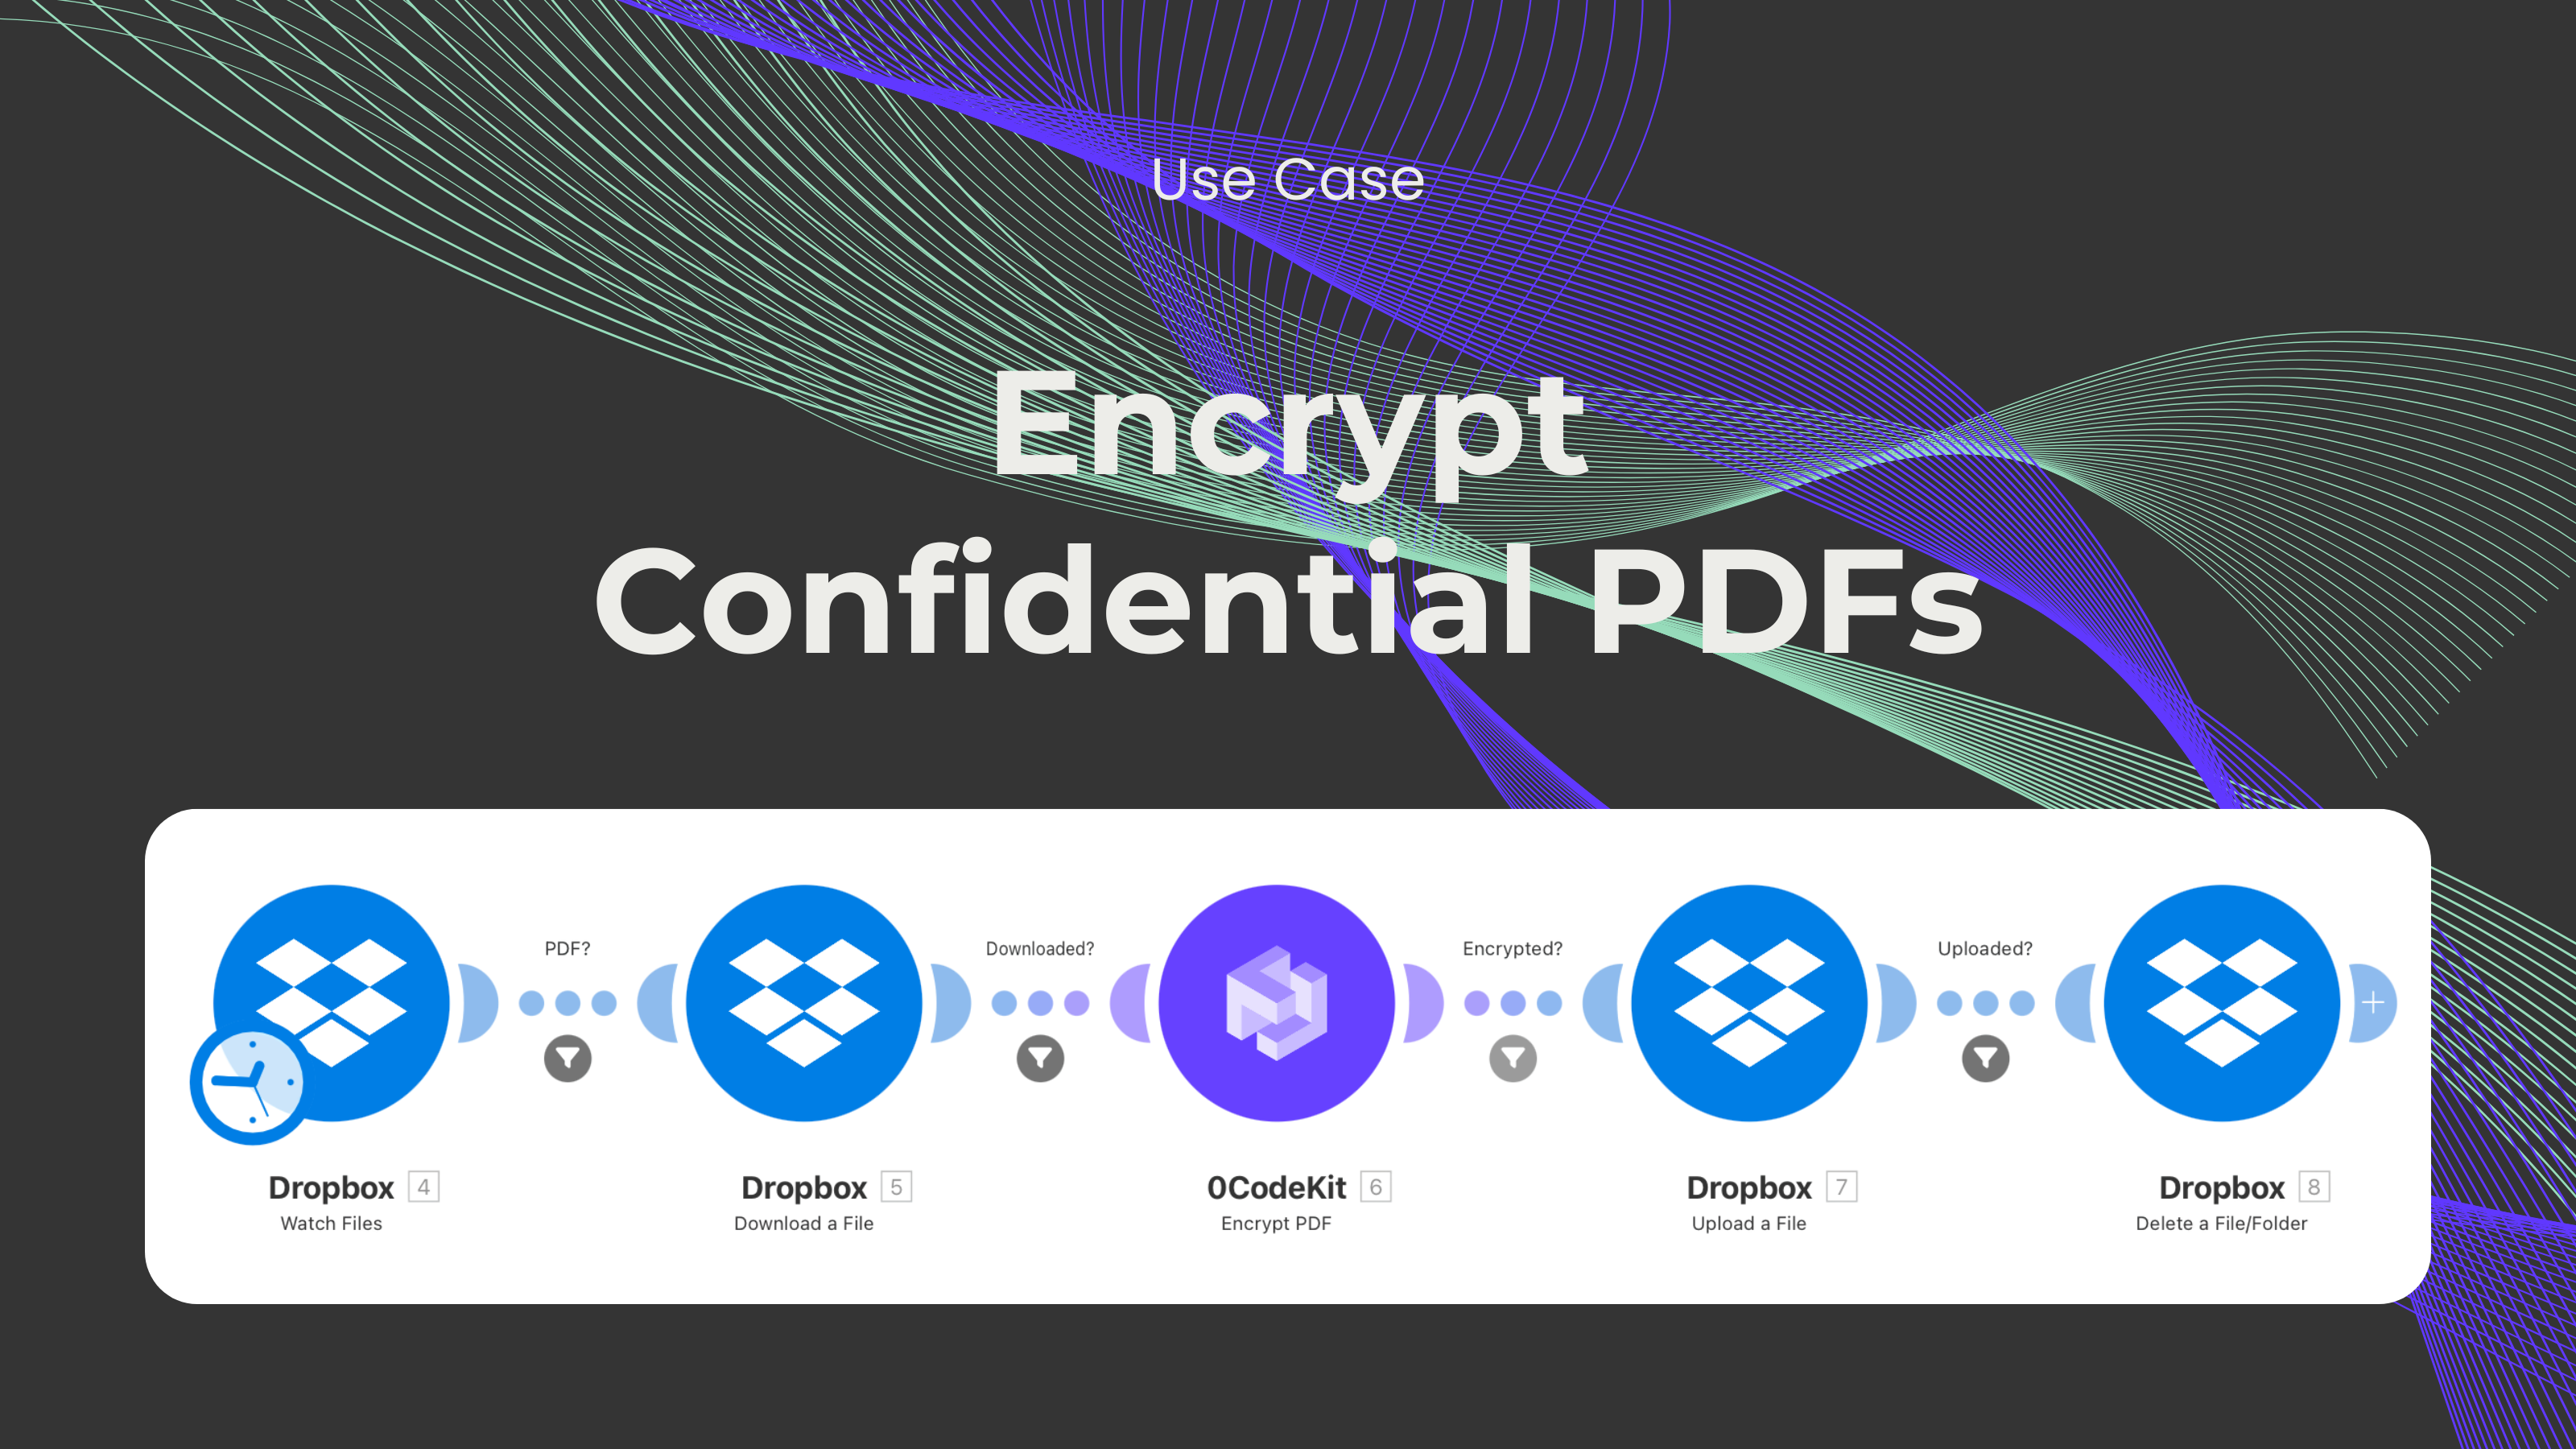
Do you store sensitive or confidential documents in Dropbox and worry that they're not protected enough? Luckily, we've developed an automation that adds an extra layer of protection to your Dropbox documents by encrypting them. In this blog post, we'll walk you through setting up a powerful automation workflow using Dropbox and 0CodeKit.
Sign up or log in to an automation platform (Make, Zapier, or n8n) and create a new scenario.

Add a Dropbox module with the "Watch Files" event so that Dropbox can detect when new files are added to a specific folder. Ideally, create a folder for sensitive or confidential files that need to be encrypted. Then, set up the module:

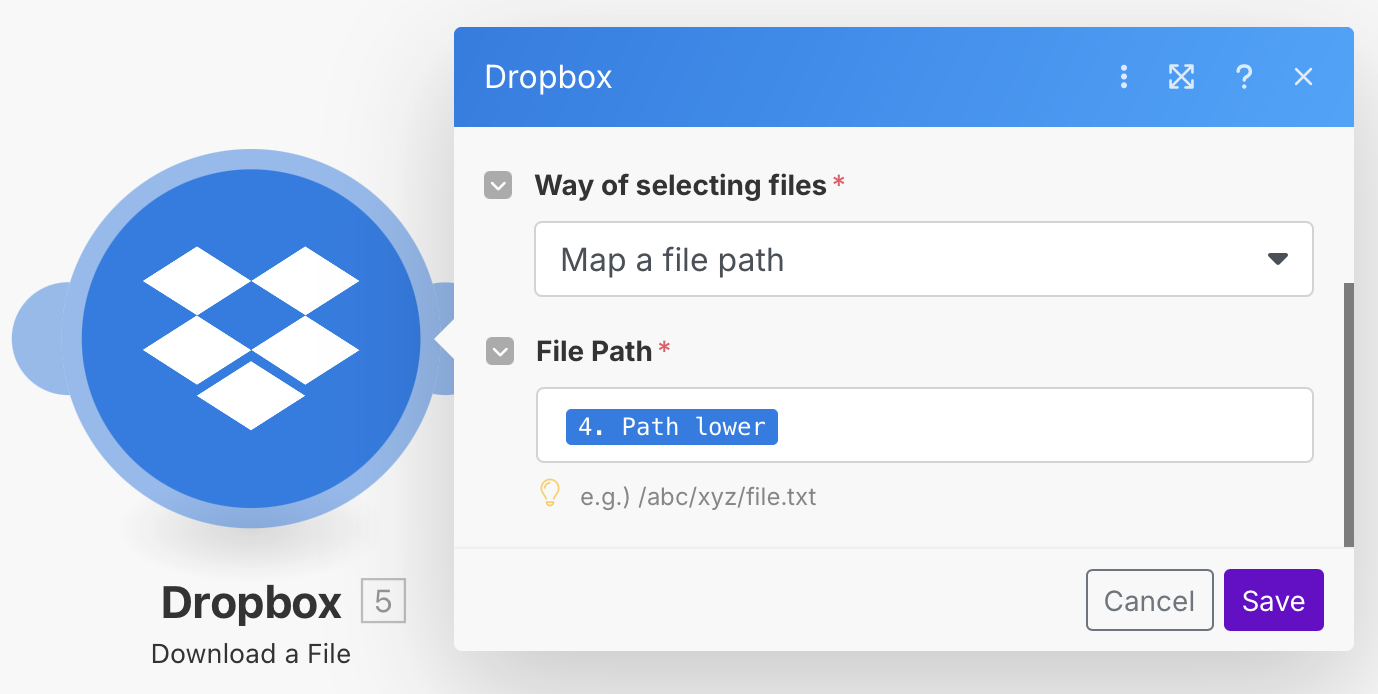
Add another Dropbox module with the "Download a File" event. This will allow Dropbox to download the documents from the specified folder and send them to the next module. Then, set up the module.
Add a 0CodeKit module with the "Encrypt PDF" event. This will allow 0CodeKit to take the downloaded documents and encrypt them. Then, set up the module:

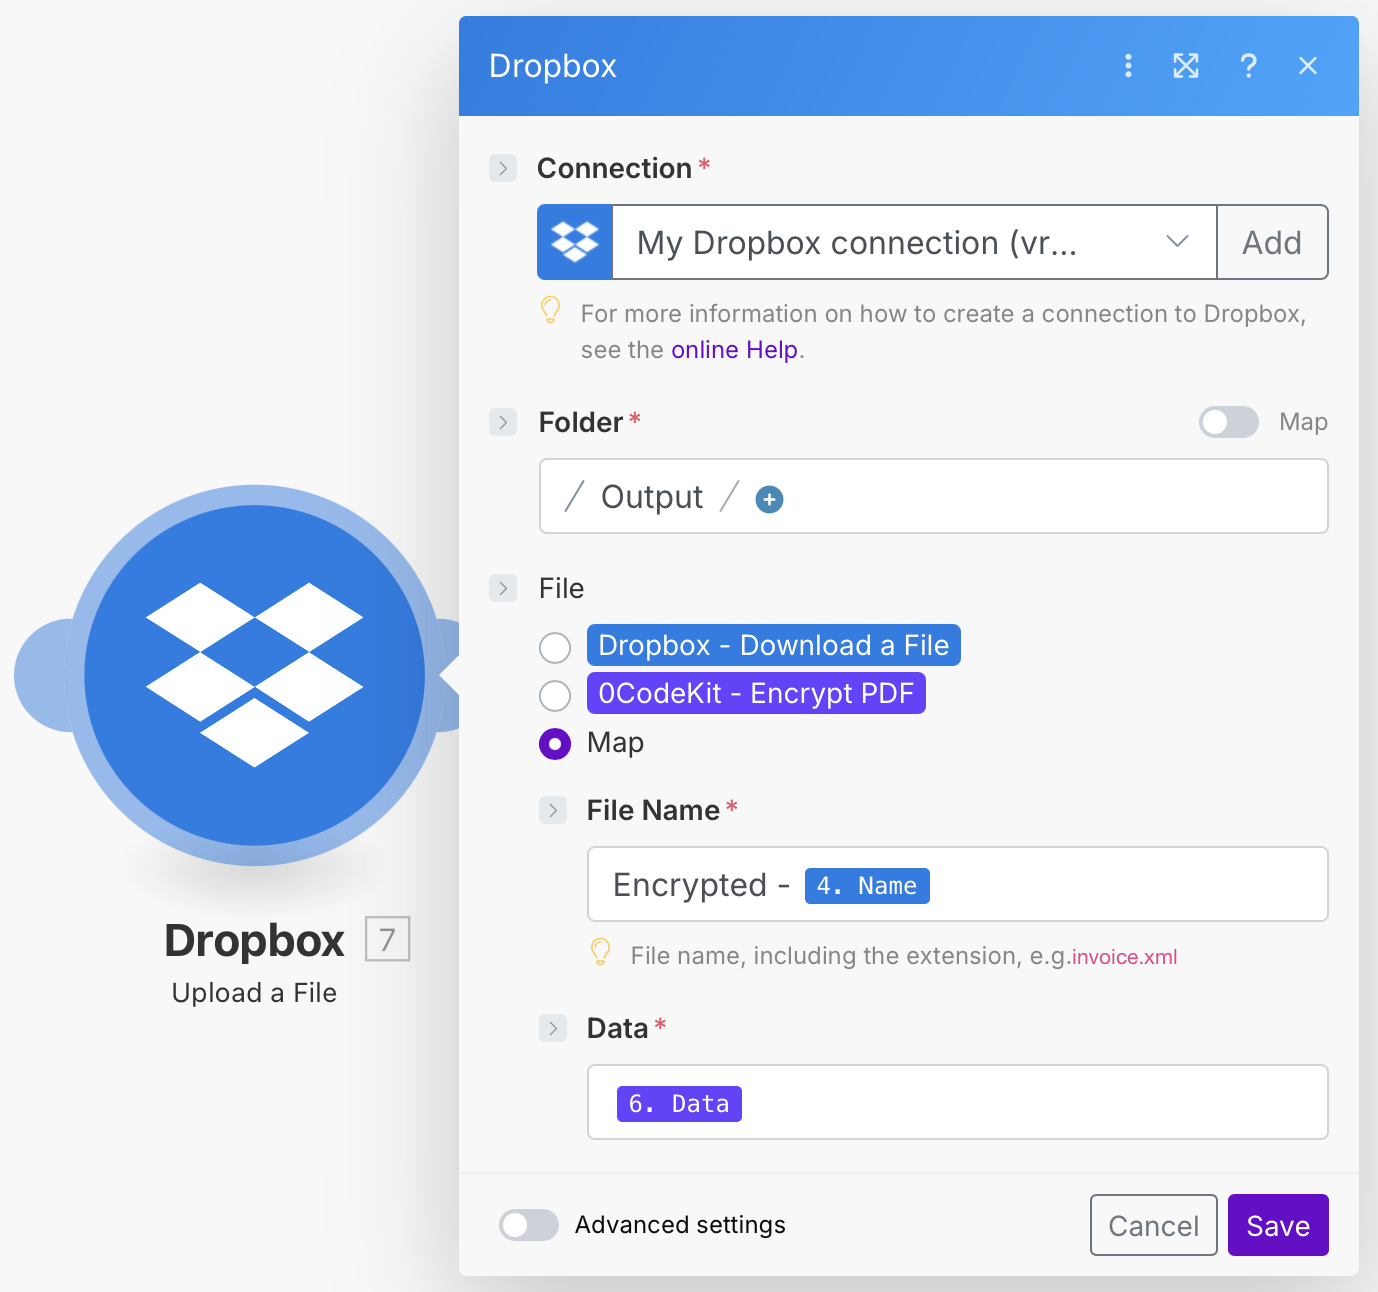
Add another Dropbox module with the "Upload a File" event to upload the encrypted documents back to Dropbox. Then, set up the module:
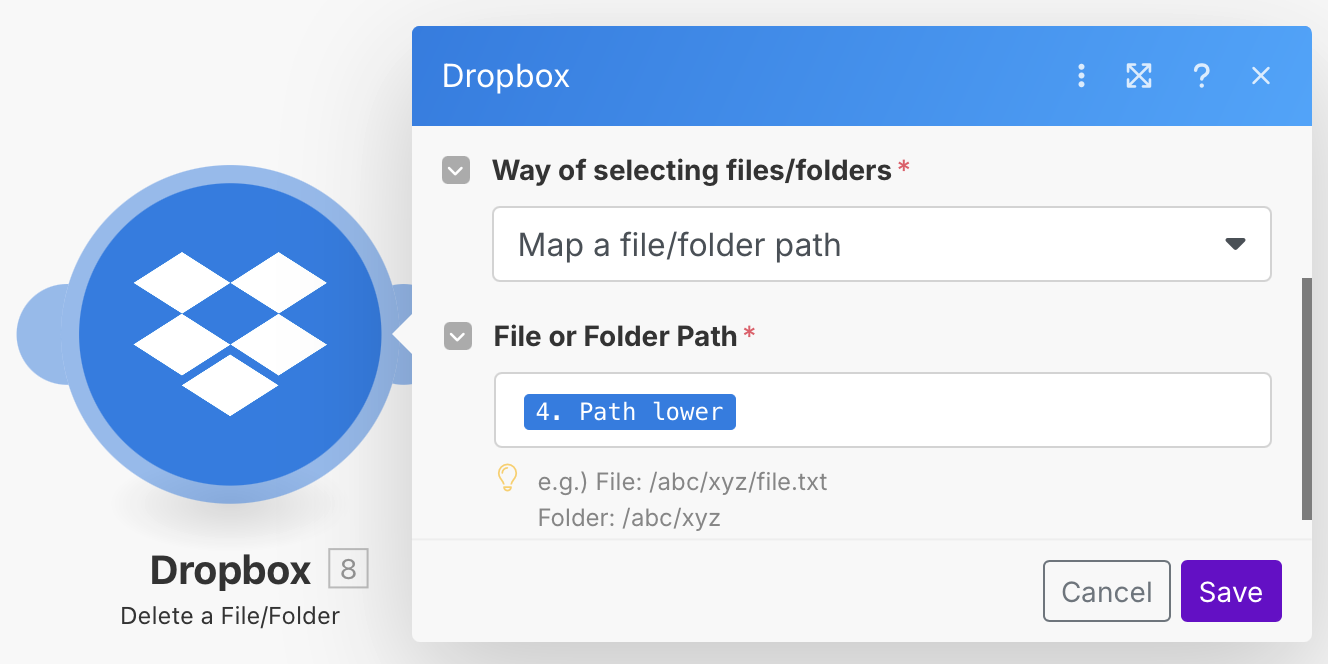
Add another Dropbox module with the "Delete a File/Folder" event to delete the original, unencrypted file and prevent unauthorized access.. Then, set up the module:
Setting some filters will make this automation flow more
Set up a filter between the "Watch Files" and "Download a File" modules to ensure that the documents passed on to 0CodeKit are PDFs. Otherwise, 0CodeKit will not be able to process them. The following is needed to set up the filter:

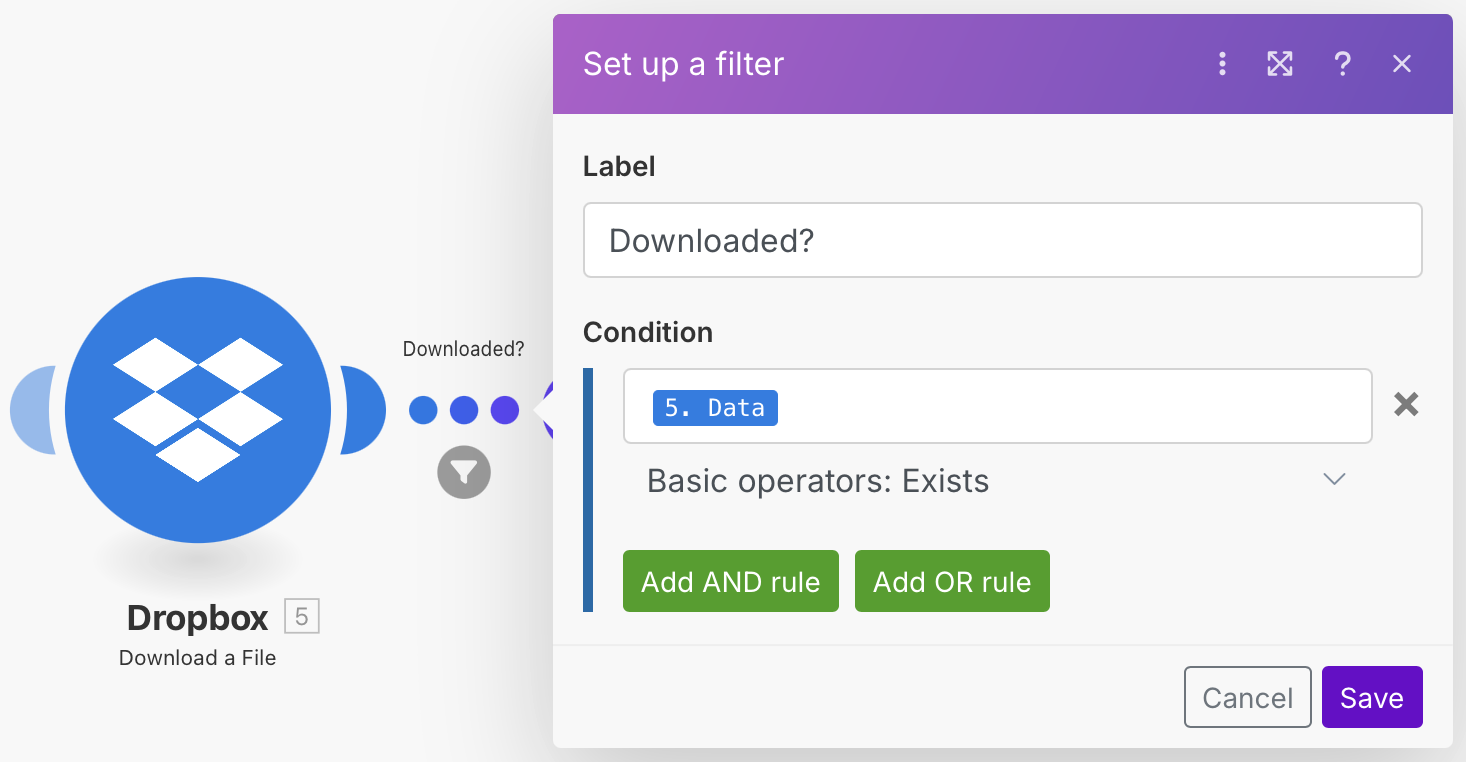
To ensure that the PDFs have been downloaded, set up a filter between the "Download a File" and "Encrypt PDF" modules. The following is needed to set up the filter:
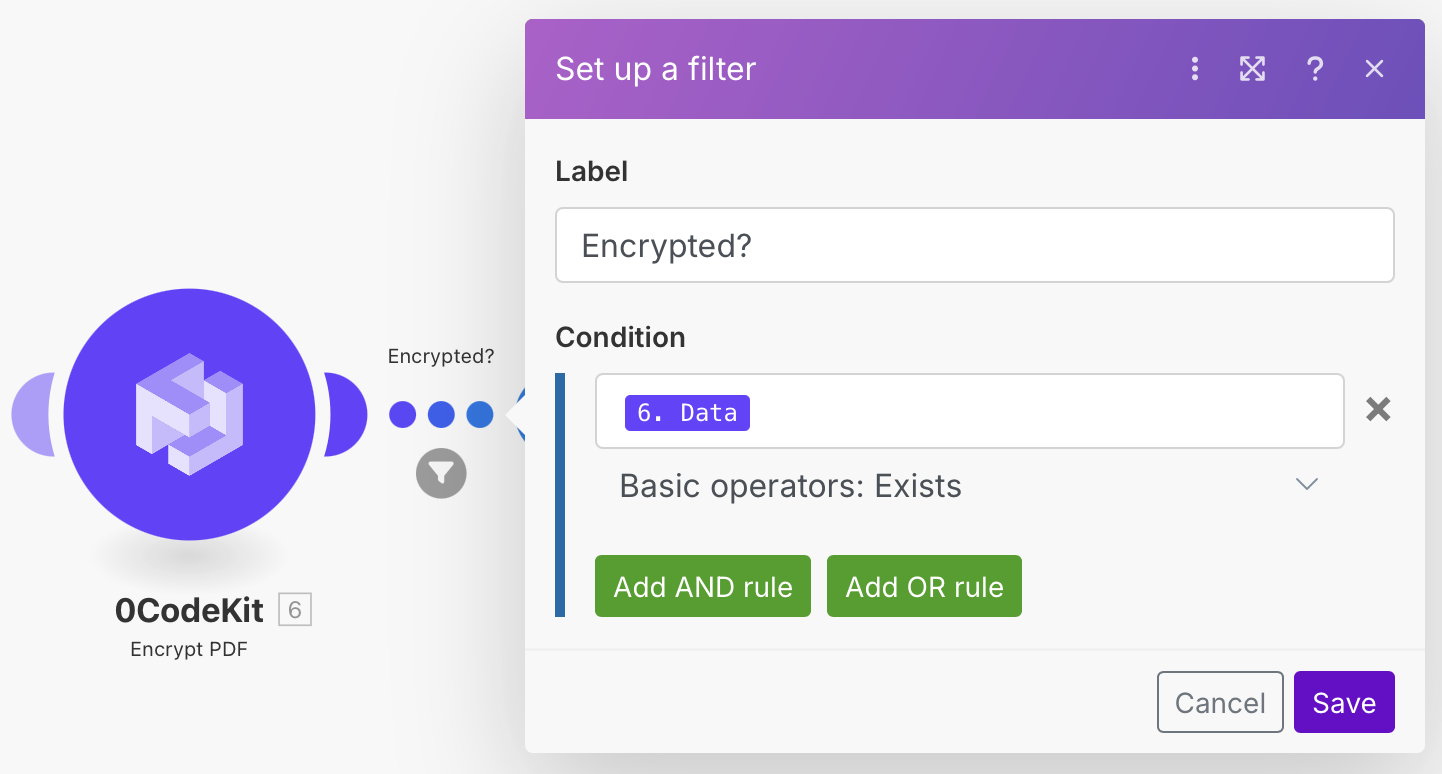
To ensure that the PDFs have been encrypted correctly, set up a filter between the "Encrypt" and "Upload a File" modules. The following is needed to set up the filter:
To ensure that the PDFs have been uploaded correctly, set up a filter between the "Upload a File" and "Delete a File/Folder" modules. The following is needed to set up the filter:
