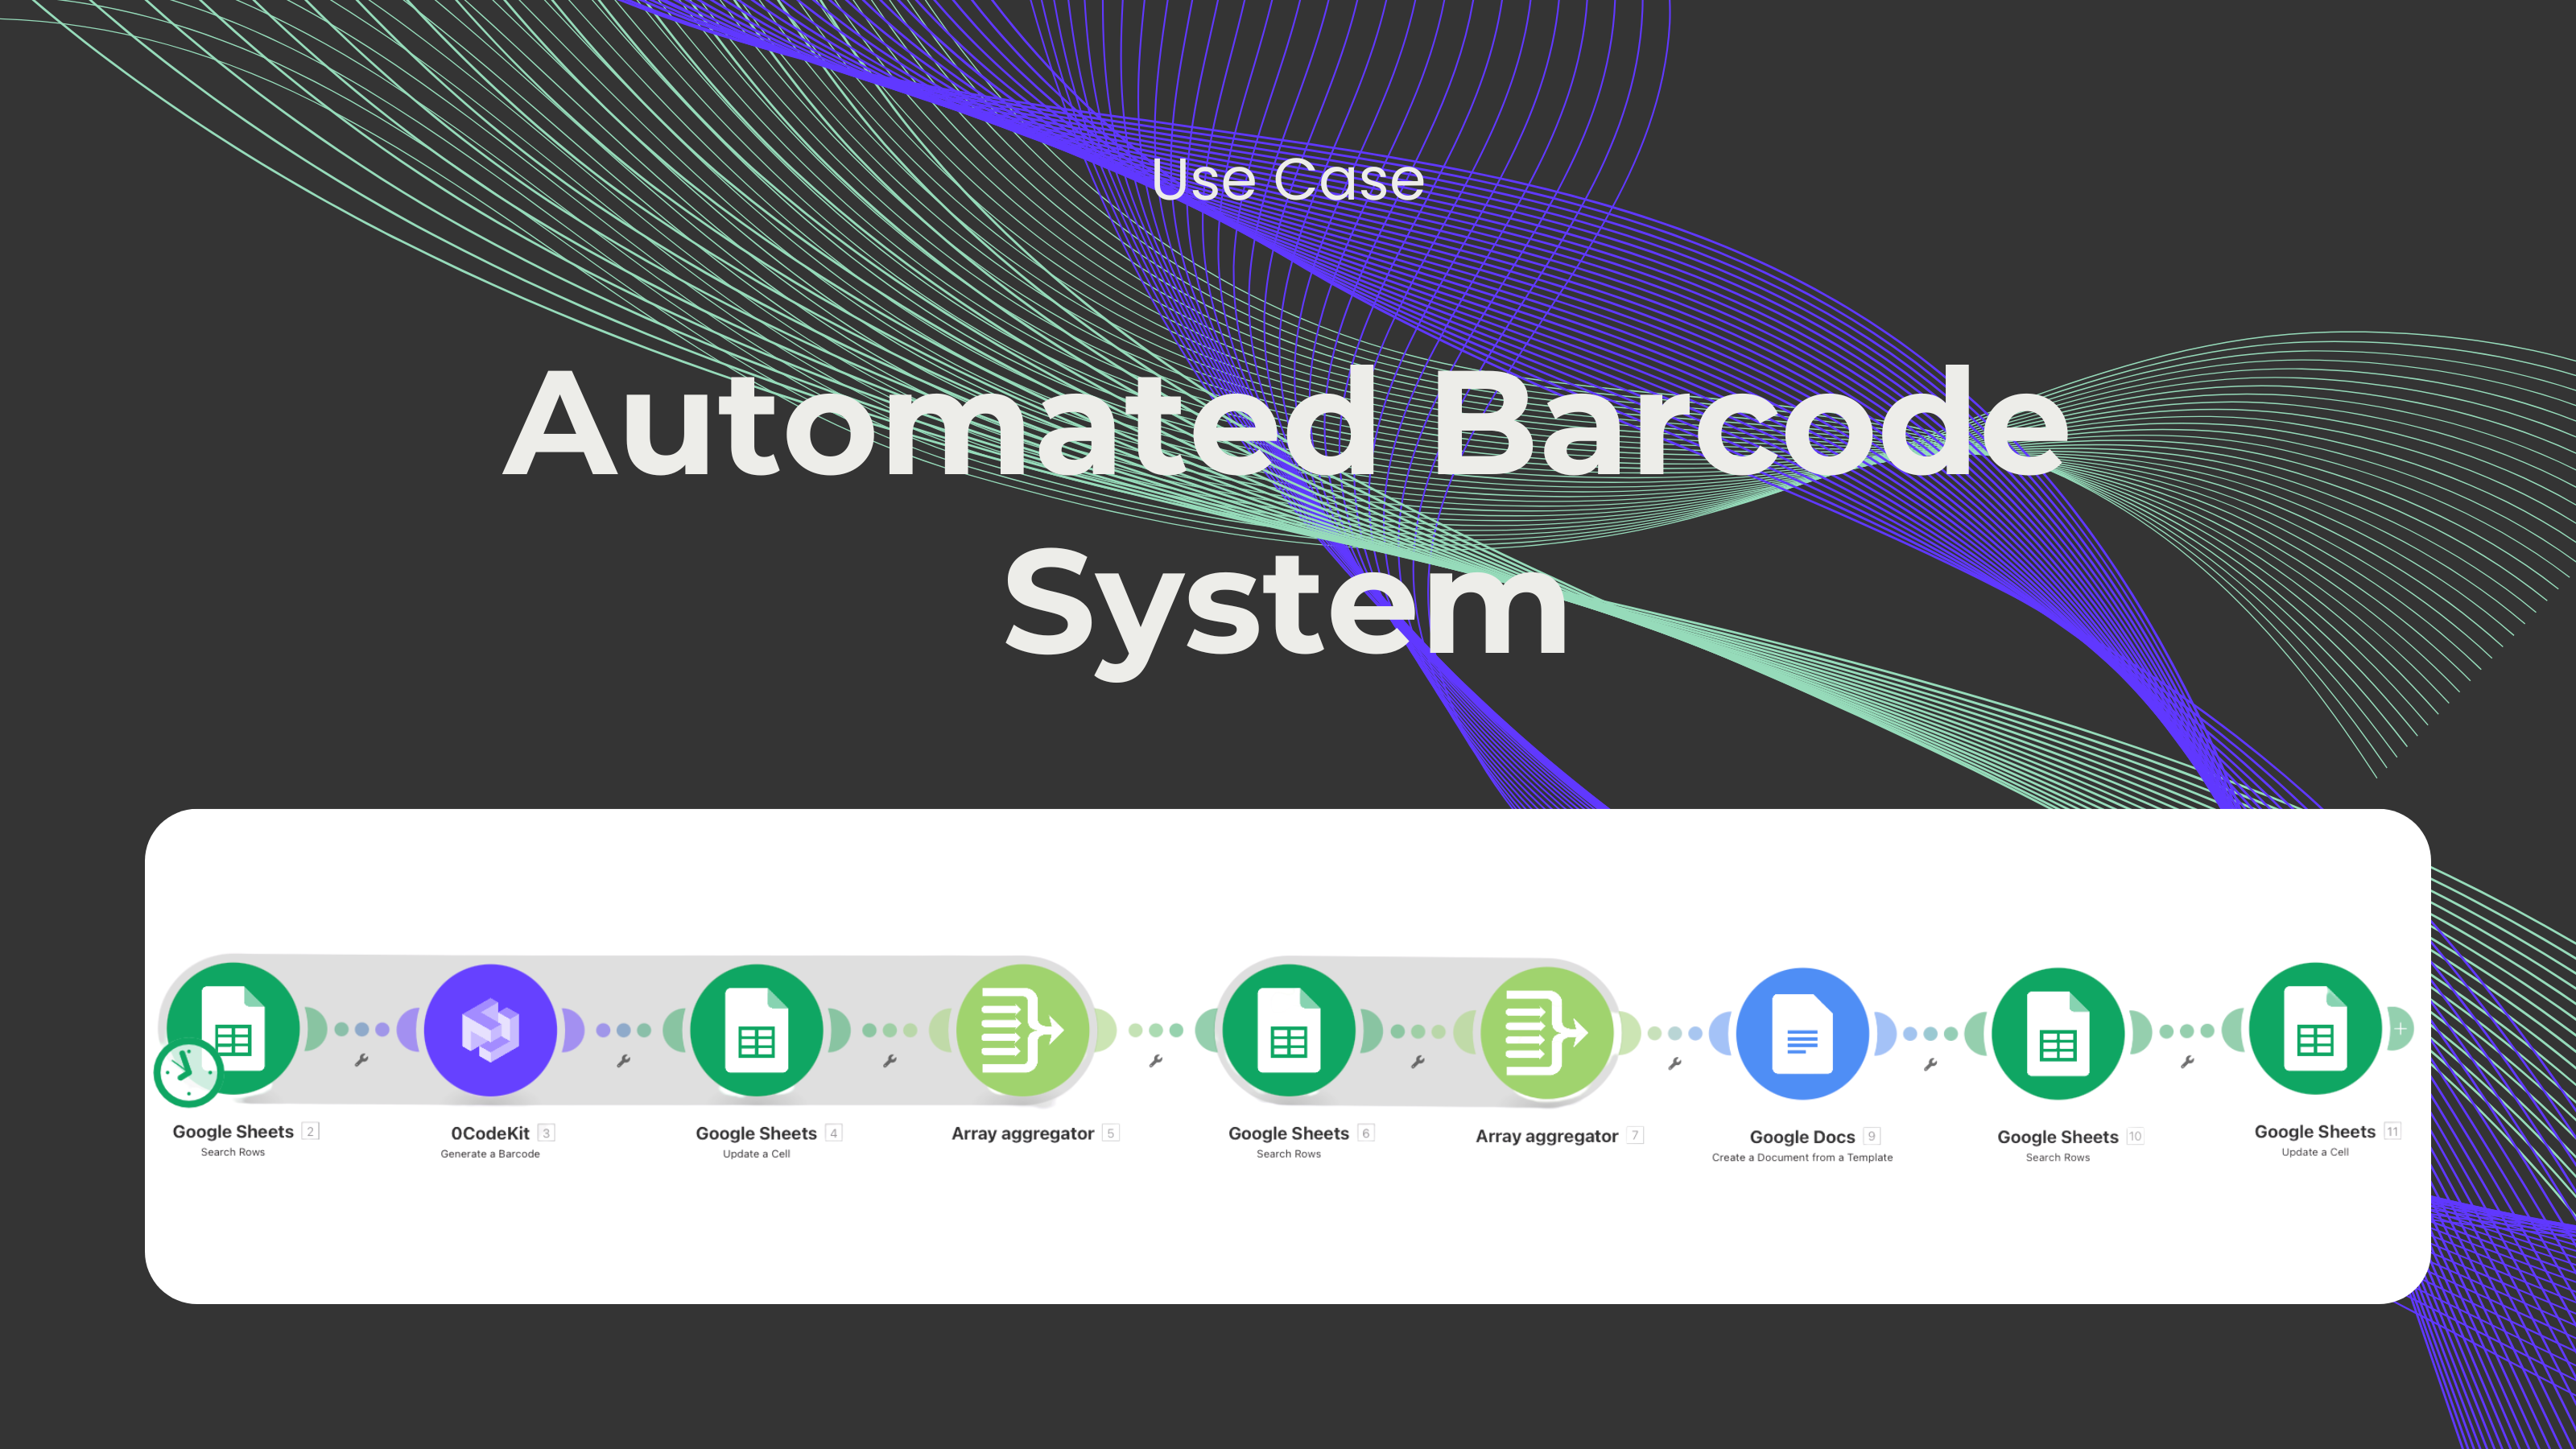
Barcode System Automation
.png)
Barcodes are one of the most used methods for product identification, which makes them indispensable for the sales sector. But why are they so practical? It's because these tiny bars contain thousands of details about one product and can be used for any type of product. We can see them in retail shops, supermarkets, catalogues, clothing stores, and many other places. In some way, it's very efficient to have all the information about one product in one place.
With this in mind, we have developed a feature that lets anyone generate and customize barcodes with any information. We would like to present the Generate a Barcode endpoint. Moreover, in this blog, we would like to show how this feature can be set up and how it can be integrated into your workflow by providing a very practical and useful use case.
First, we need to sign up or log in to one automation platform (Make, Zapier, and n8n) and create a scenario.
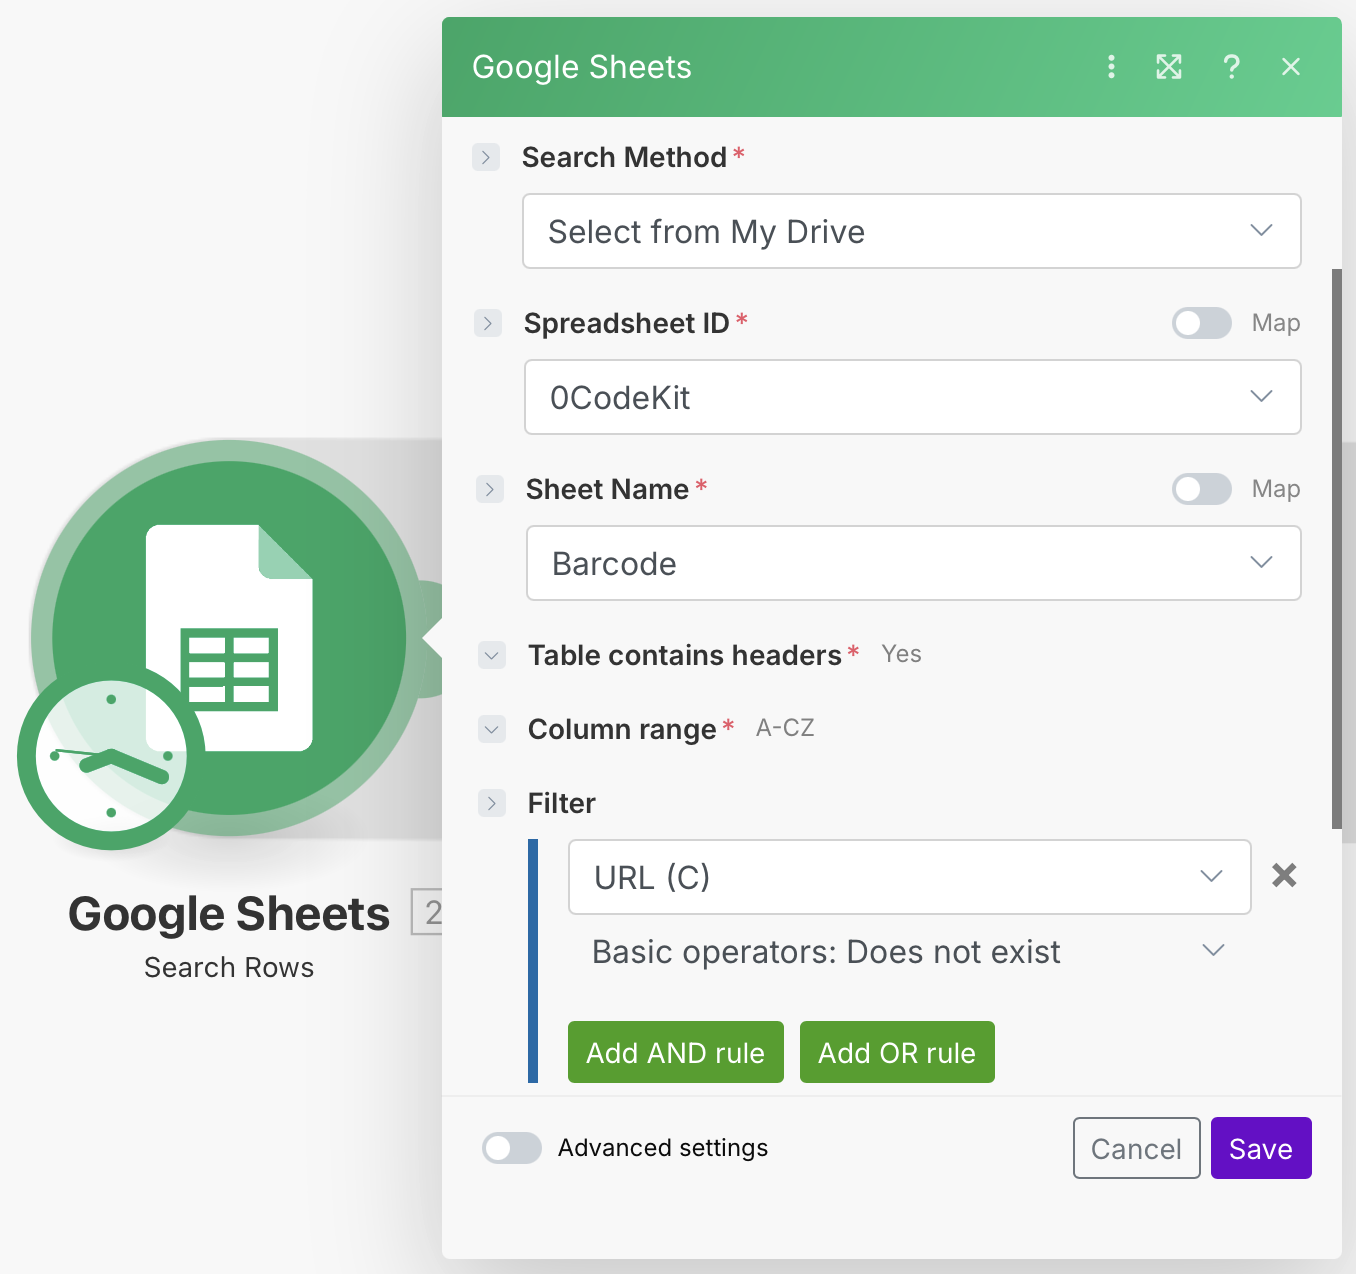
Then, we need a sheet in Google Sheets, where we'll have an overview of our products and the ID number of each product. After that, we can start setting up the automation by integrating a Google Sheets module with the event "Search Rows". To set it up, we need to tell the module from which spreadsheet and sheet we want to take the information from, specify if the table contains headers, what the column range is, and add a filter that will trigger this automation if a cell in column C does not exist. This filter is essential because that's how the URL for the barcode can be generated.
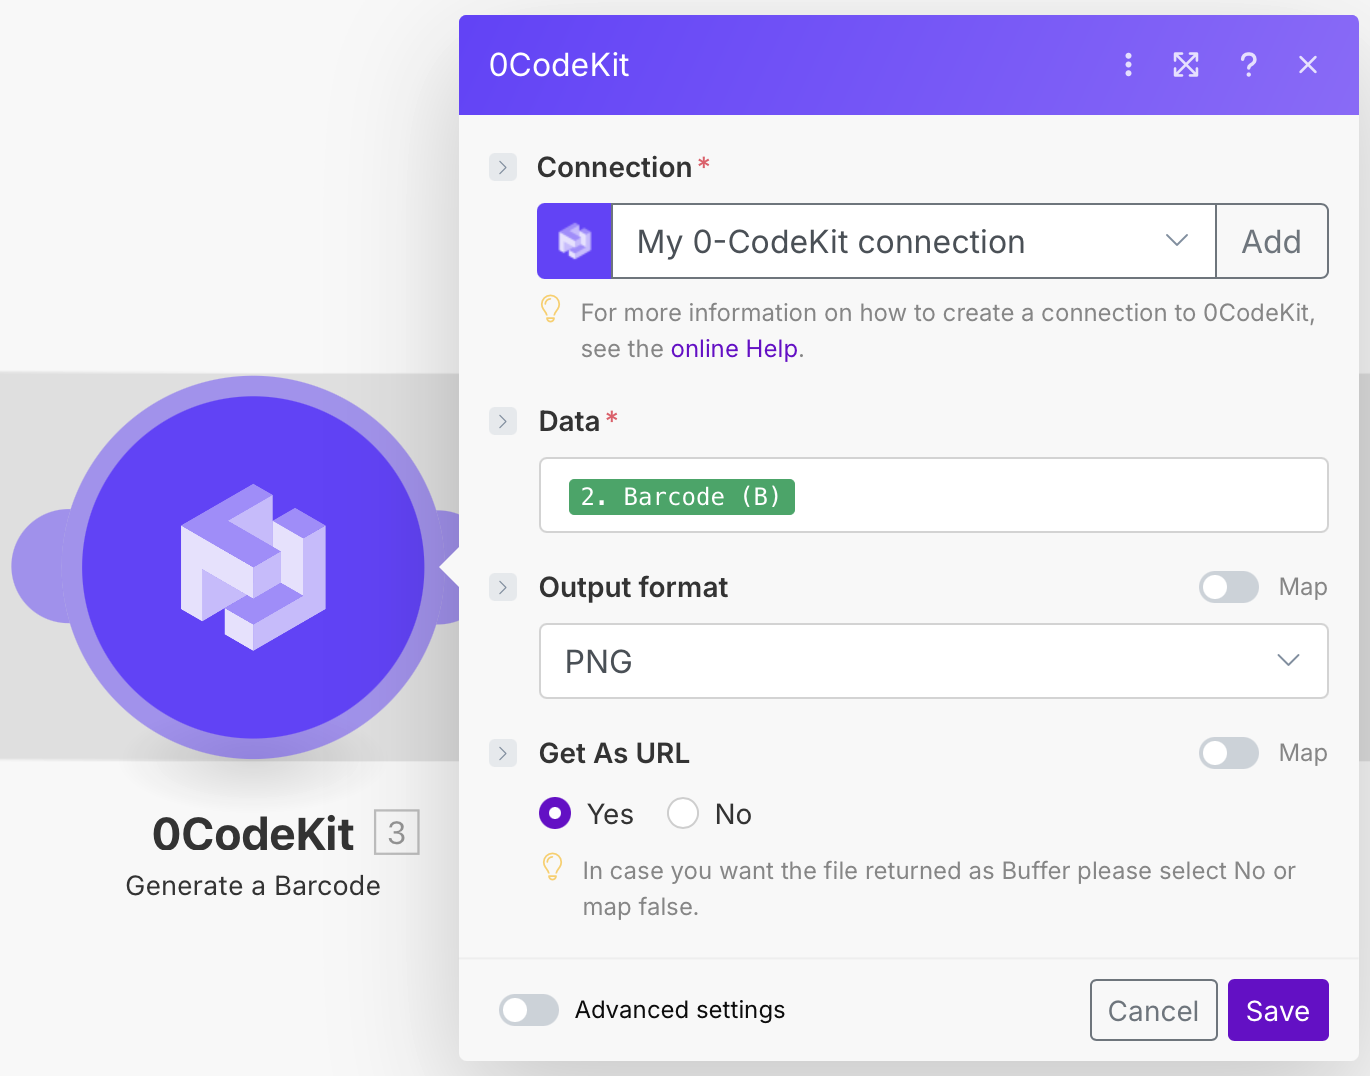
Later, we need to integrate a 0CodeKit module with the event "Generate a Barcode", which will generate a barcode based on the Google Sheet information. To set it up, we need to enter the "Barcode" icon into the Data field, choose PNG as the output format, and click on "Yes" to get the output as a URL.
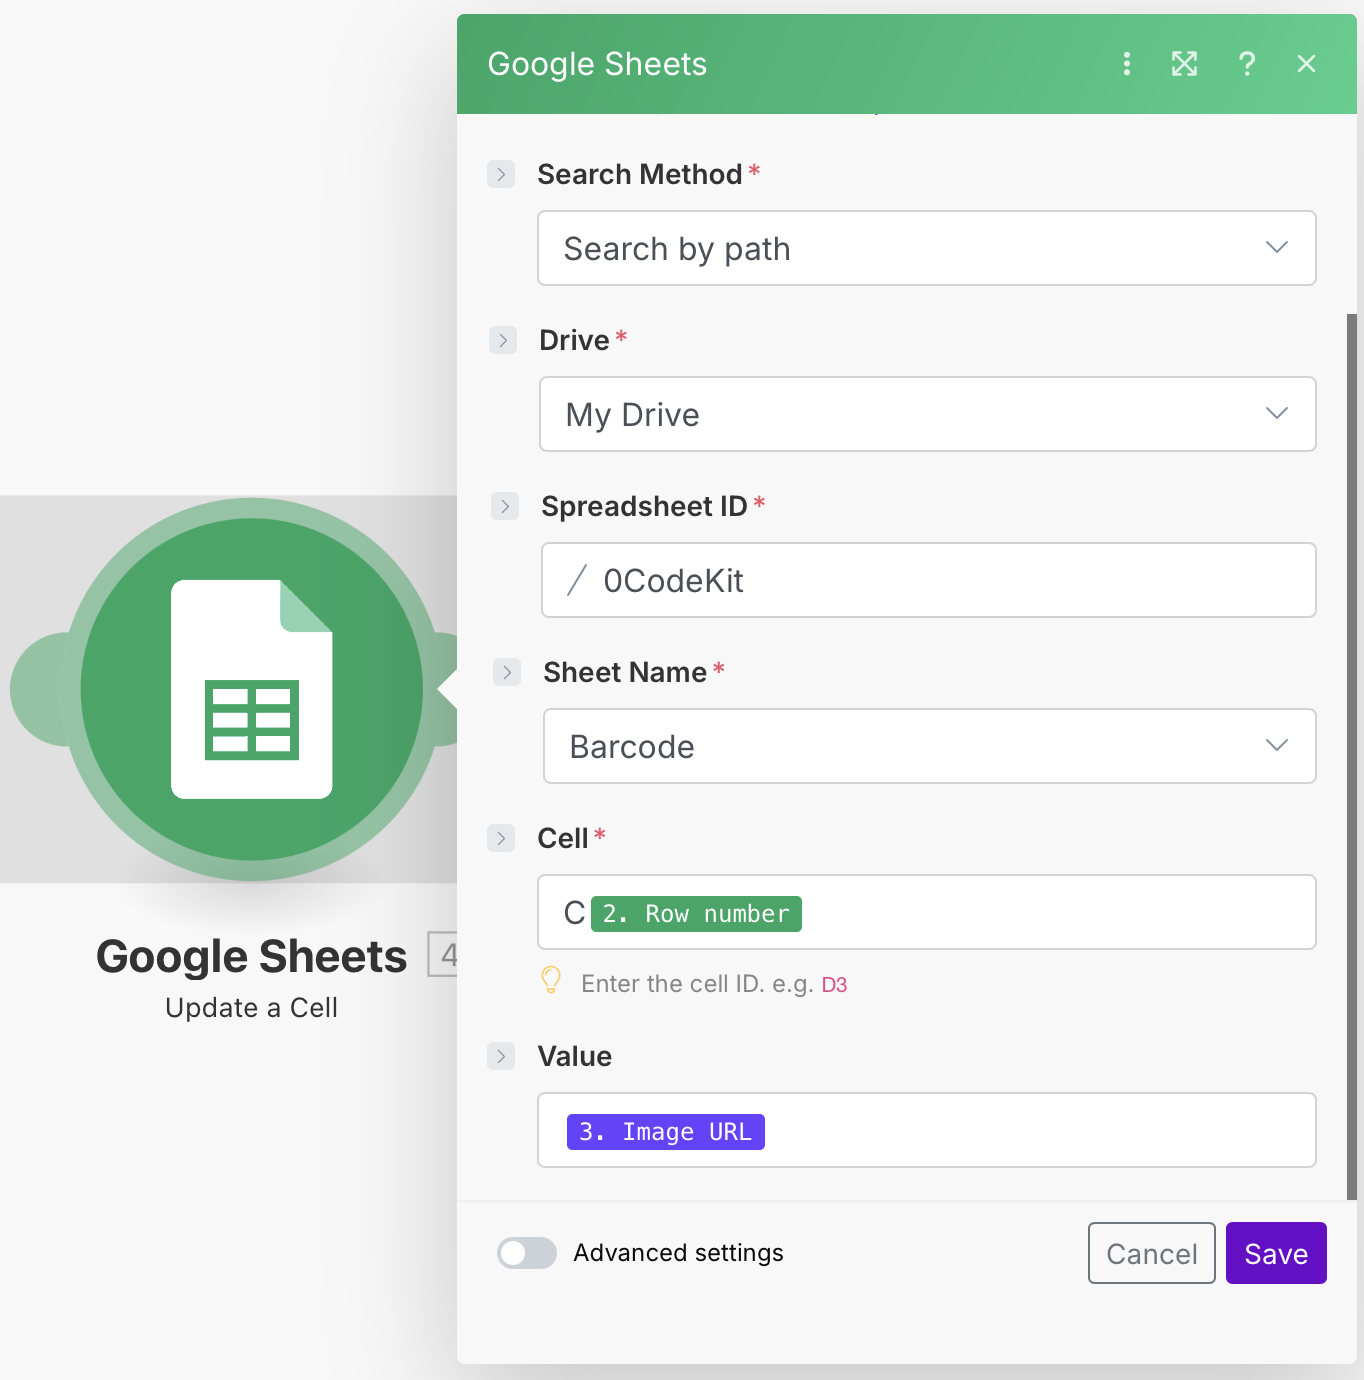
Afterwards, we need to integrate another Google Sheets module with the event "Update a Cell", which will take the URL from the generated barcode and place it into the column called "URL". To set it up, we need to tell the module which sheet and cell we want to enter the new information, and specify what information should go there. For this, we need to enter the "Image URL" into the Value field.
After that, we need an Array Aggregator that will allow us to process the previous modules before continuing with the automation. Here, we need to select the very first module "Google Sheets - Search Rows [2]" in the Source Module field to specify from where the data should be processed, and click on "Select All" in the Aggregated fields field.

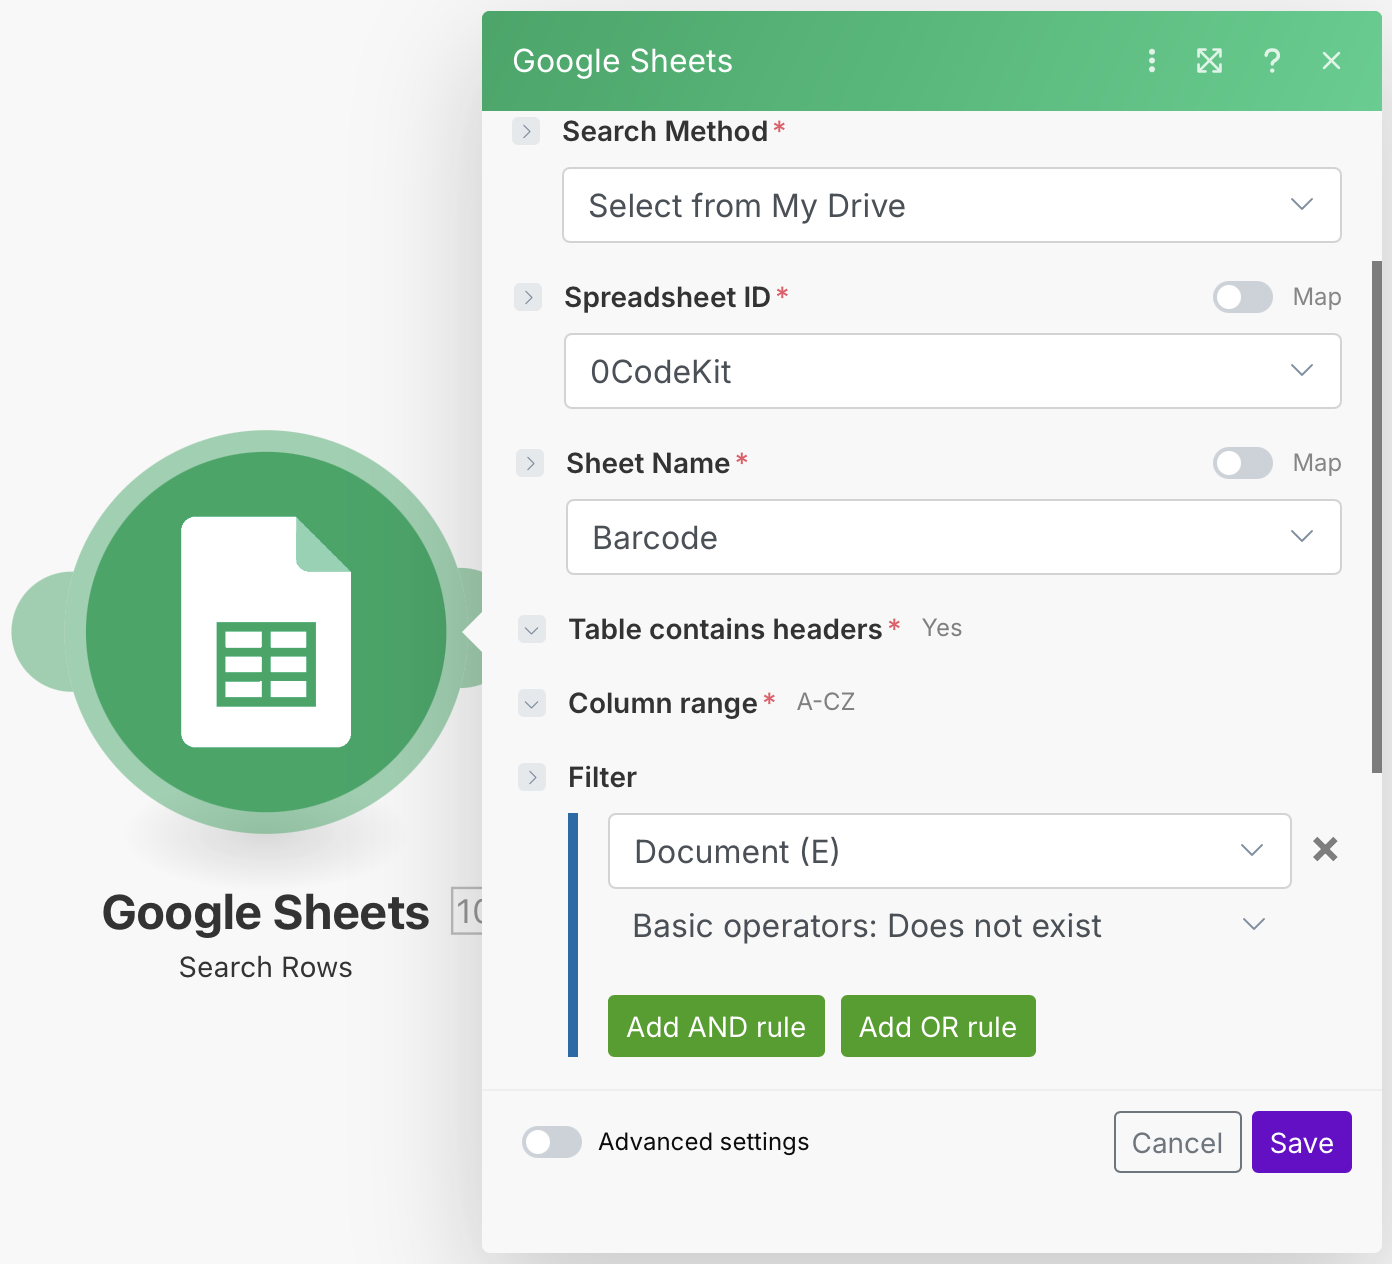
Subsequently, we need to add another Google Sheets module with the event "Search Rows", which will take the URL from column C to be able to download the barcode image. To set it up, we need to tell the module from which spreadsheet and sheet we want to take the information from, specify if the table contains headers, what the column range is, and we need to add a filter that will trigger this automation if a cell in column D does not exist. This filter is essential because that's how the automation will proceed to generate the barcodes.

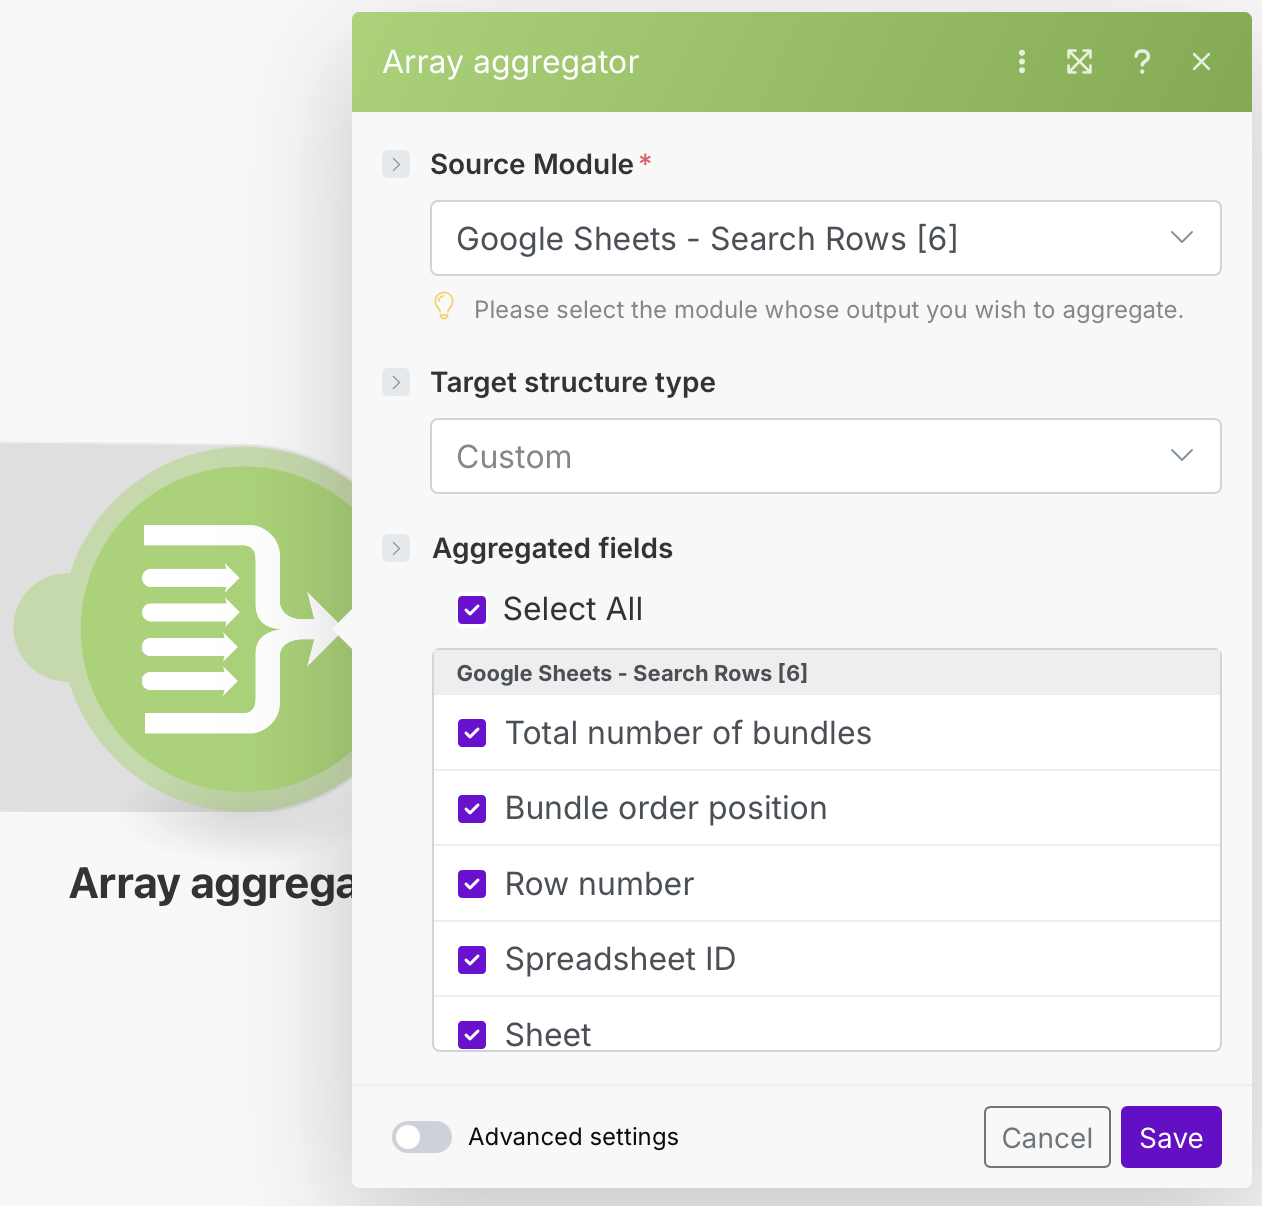
Then, we need another Array Aggregator that will allow us to process the previous modules before continuing with the automation. Here, we need to select the very first module "Google Sheets - Search Rows [6]" in the Source Module field to specify from where the data should be processed, and click on "Select All" in the Aggregated fields field.
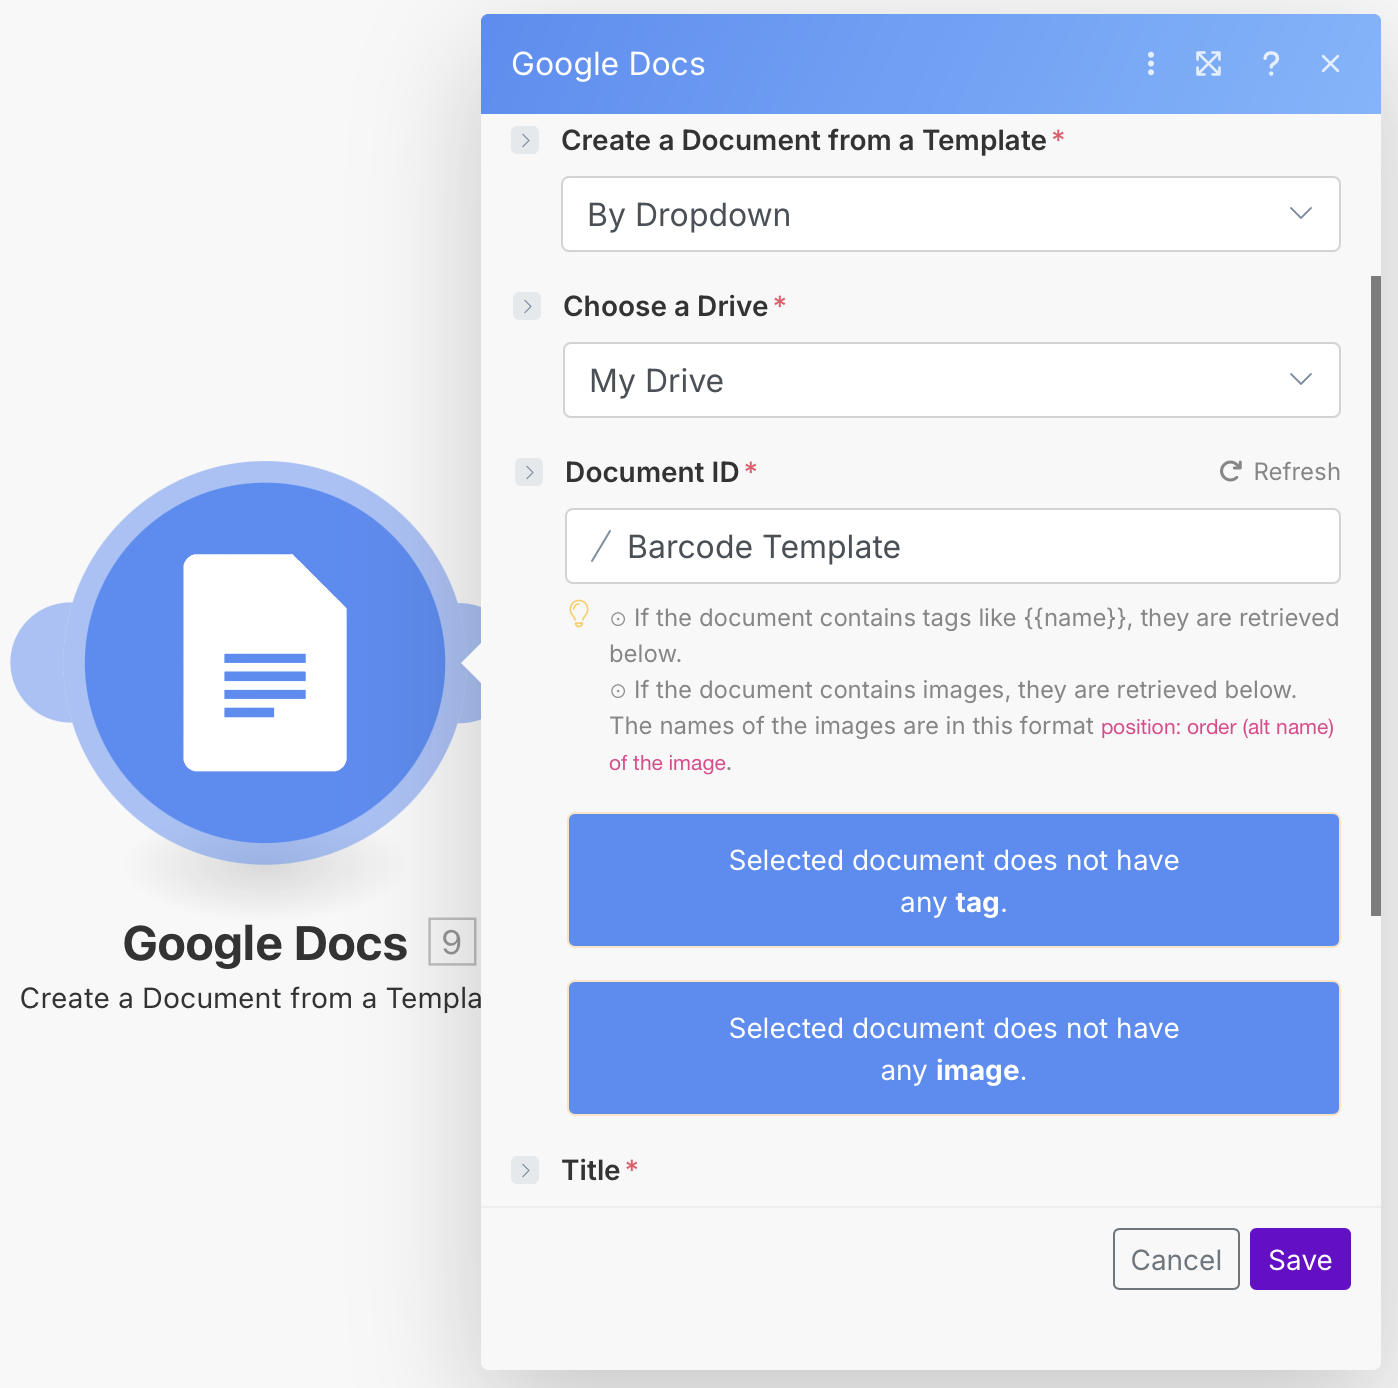
Later, we need to create a Google document in Google Docs. This way, we can save the generated barcodes in Google Drive. Once done, we can integrate a Google Docs module with the event "Create a Document from a Template", which will contain all the generated barcodes. To set it up, we only need to tell the module to save the document in My Drive, specify which document we would like to take as the template, and give the document a name.
Afterwards, we integrate another Google Sheets module with the event "Search Rows", which will determine if column E is empty. To set it up, we need to tell the module from which spreadsheet and sheet we want to take the information from, specify if the table contains headers, what the column range is, and add a filter that will trigger this automation if a cell in column E does not exist. This filter is essential because we want the Google Sheets sheet to specify whether the barcodes have been generated.
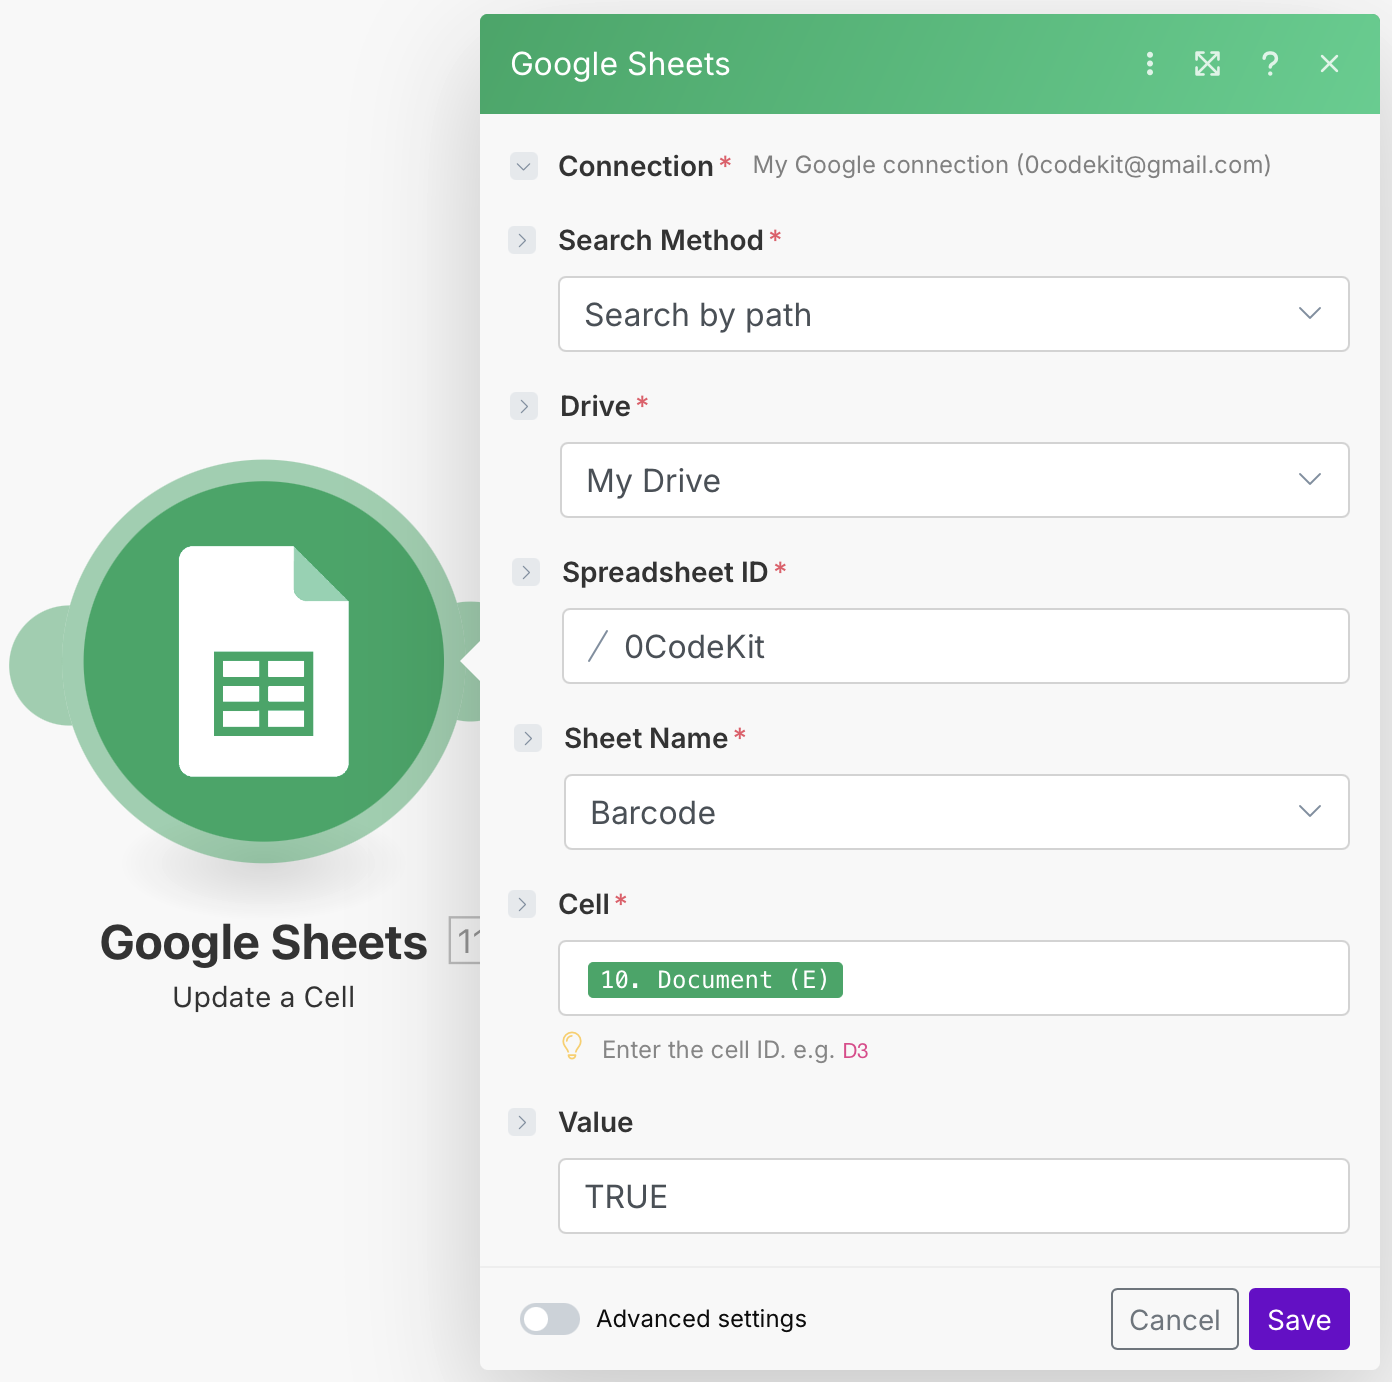
Finally, if the barcodes have been generated, we want them to be reflected in our Google Sheets. Therefore, we need to add another Google Sheets module with the event "Update a Cell". Here, we need to specify which cell from which spreadsheet and sheet we want to update, and we would like the value to be "TRUE" when the barcode has been generated.